ACH Participants
An ACH participant is a person, business or company that receives electronic payments or collections. The payee must be created as an ACH participant before ACH transactions can be performed.
The payee information is under ACH Participants.
Accessing ACH Participants
- Log in to the Business portal: Enter your User ID and Password, then select the Log In button.
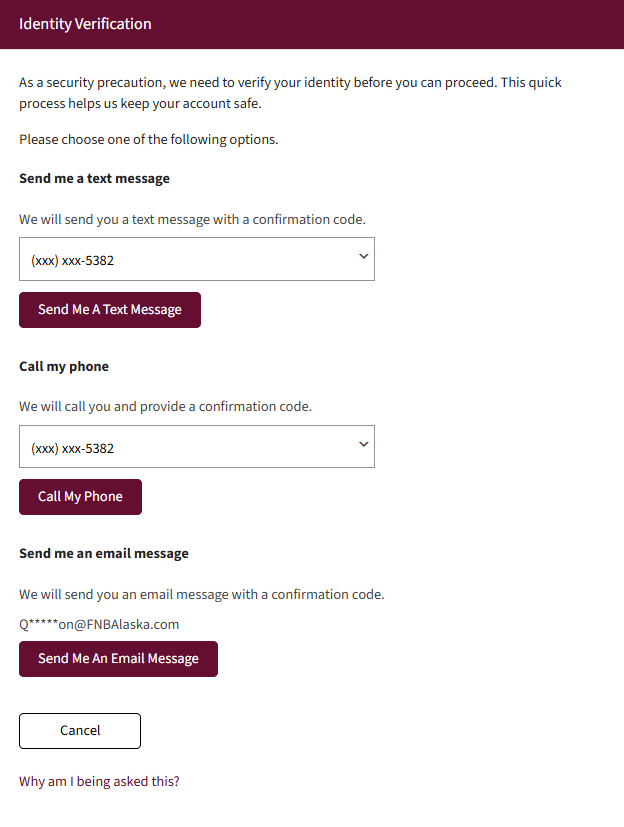
- If prompted, complete the multifactor authentication steps.
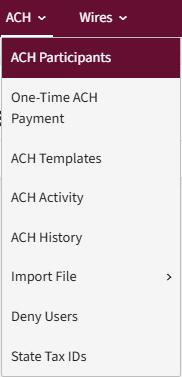
- Select the ACH
- Select ACH Participants from the menu.
- The ACH Participants view displays:
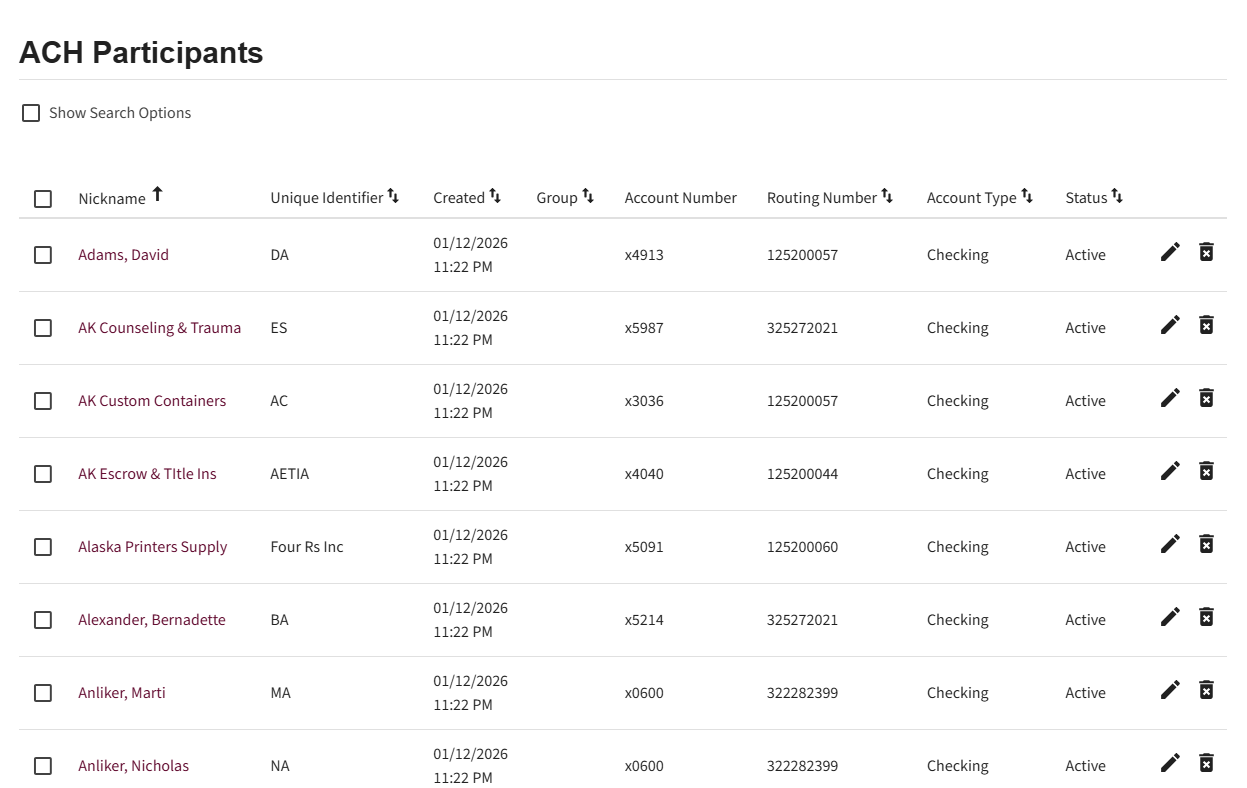
| If the ACH Participants view displays blank, ACH participants have not been created. |
Creating Standard ACH Participants
- Select the Add Participant button on the ACH Participants homepage.

- Enter the participant’s information in the required fields on the Participant Details view.
- Select Standard or Child support payment
- Name – Type the participant’s name.
- Email Address – Enter the participant’s email address if you want an email sent to the participant when the ACH is processed.
- Nickname – The nickname can be the same as the participant’s name.
- Routing Number – The participants bank’s routing number.
- Account Number – Participant’s account number.
- Confirm Account Number – Retype the participant’s account number to verify.
- Account Type – Select one account type (Checking, Savings and/or Loan)
- Status – Active or Hold. Active indicates the participant is actively being paid and Hold indicates the participants is on hold.
- Enter information in the remaining fields, as applicable.
- Send email when batch status is changed to Processed checkbox: Notifies participants when the status changes to processed.
- Institution Name: Bank name. The system searches for the bank name and once selected, the institution name and routing number populates in the appropriate fields.
- Group: Allows participants to be grouped together (i.e., employees vs vendors).
- Discretionary Data: Unique information about the transfer.
- Distribute Payments checkbox: Allows payments to be distributed to multiple accounts.
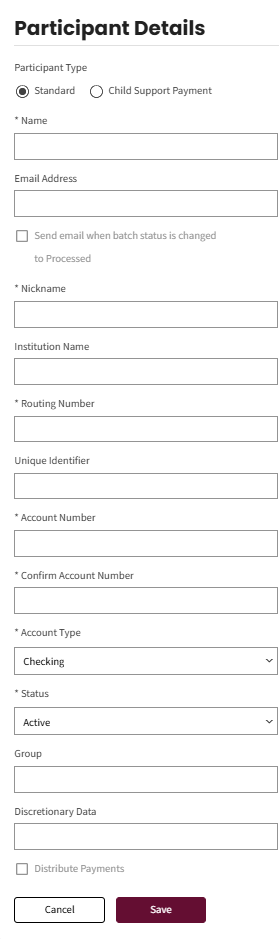
When the Distribute Payments checkbox is selected, the Payment Distribution section displays. This section allows the creation of distributions to multiple accounts.
For example, an employee can request to distribute a portion of their paycheck to their checking account and a portion to their savings account.
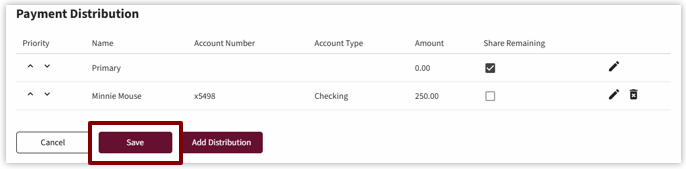
The primary account displays in this section. This account will receive the remaining amount after payments have been distributed to multiple accounts.

- Select the Add Distribution button.

| There is no limit to the number of distributions that can be added. |
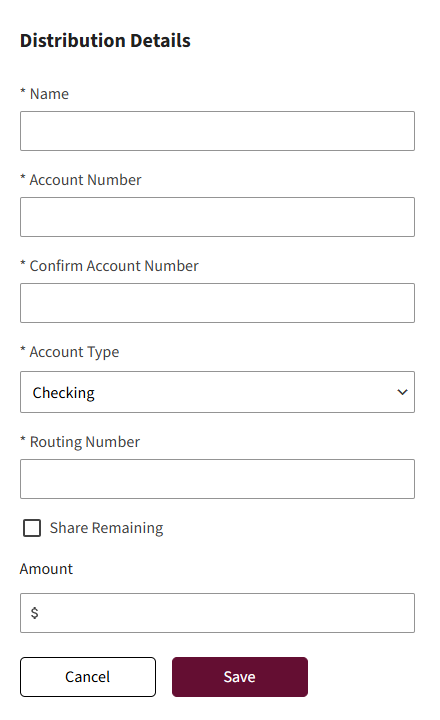
- Complete the required fields on the Distribution Details view.
- Name: Participant’s name
- Account Number: The account the payments are being deposited.
- Confirm Account Number: The account the payments are being deposited.
- Account Type: Checking or Savings.
- Routing Number: Bank’s routing number.
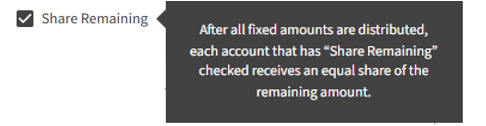
- When the Share Remaining checkbox is selected, a pop-up will display. This means that any money left after assigned distributions are allocated will be shared equally with the shared accounts.
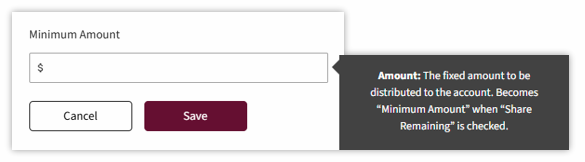
- When the Minimum Amount field is clicked, like the Share Remaining field, a pop-up displays informing that the amount entered in the field is the fixed amount to be distributed to the account. If the share remaining checkbox is checked, the fixed amount becomes the minimum amount.
Select the Save button.
- The system returns to the Participant Details view. Scroll to the Payment Distribution section to see the distribution created.
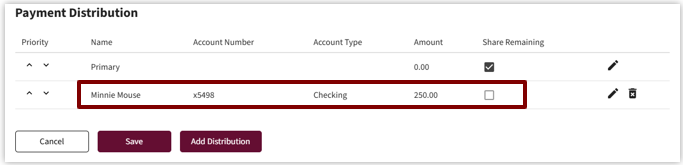
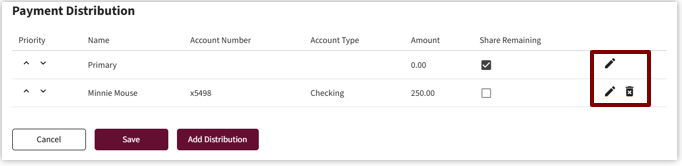
- From this view, users can edit or delete distributions by selecting the appropriate icon.
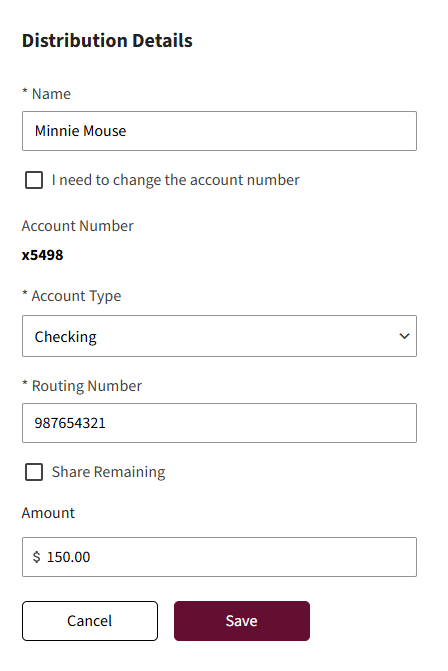
- The Distribution Details view displays when the Edit (pencil) icon is selected. Make the necessary changes, then select the Save button.
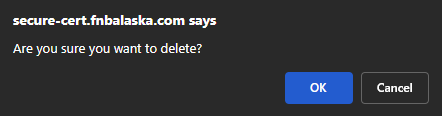
- A pop-up confirmation displays when the Delete (trash can) icon is selected. Select OK to complete the delete action.
- Select the Save button to save the participant.
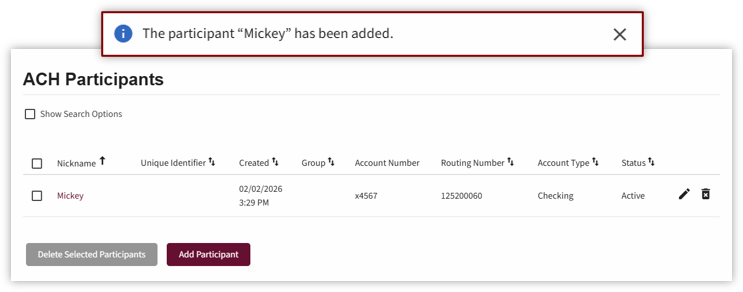
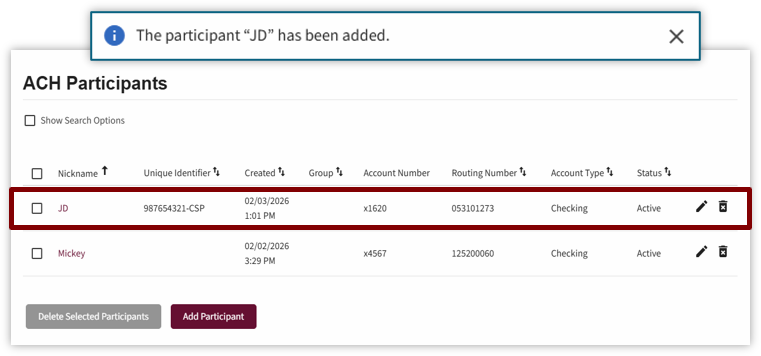
- A pop-up confirms the participant was added and the participant displays in the ACH Participants list.
Creating Child Support ACH Participants
- When a company receives a child support order from the State, by law, they are required to deduct child support payments from an employee’s paycheck.
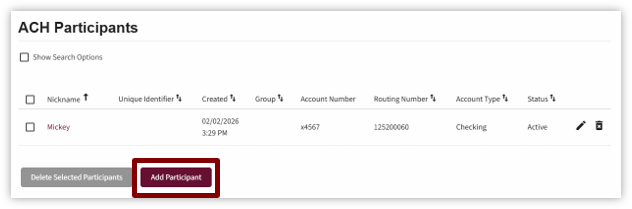
Select the Add Participant button on the ACH Participants homepage.
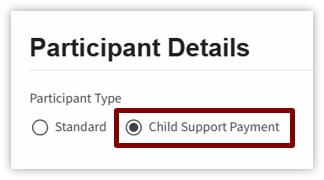
- Select the Child Support Payment option in the Participant Type section.
- There are three sections that must be completed:
- Non-Custodial Parent Information: Employee’s information
- Custodial Parent Information: Parent that has custody of child.
- Payment Information: Amount to be deducted from employee’s wages.
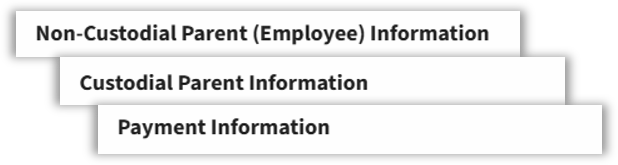
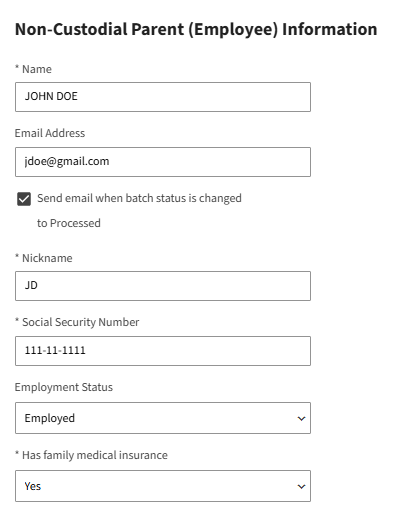
- Non-Custodial Parent (Employee) Information. Complete the following fields:
- Name (employee)
- Email Address
- Send email when batch status is changed to Processed, if applicable
- Nickname
- Social Security Number
- Employment Status: Employed or Terminated
- Has family medical insurance: Yes, No or NA child lives out of state.
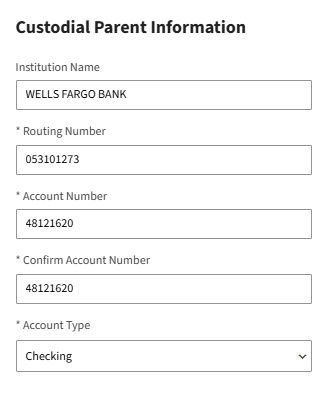
- Custodial Parent Information.
Complete the following fields:- Institution Name
- Routing Number
- Account Number
- Confirm Account Number
- Account Type: Checking, Savings or Loan
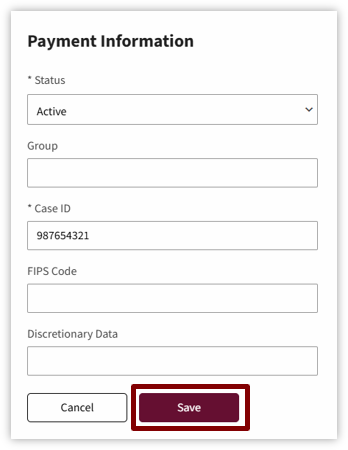
- Payment Information.
Complete the following fields:- Status: Active or Hold.
- Group: Add participant to a group, if applicable.
- Case ID*
- FIPS Code*
- Discretionary Date*
*These fields are used to uniquely identify the participant.
Select the Save button.
- A pop-up confirms the participant was added and the participant displays in the ACH Participants list.
Group Search
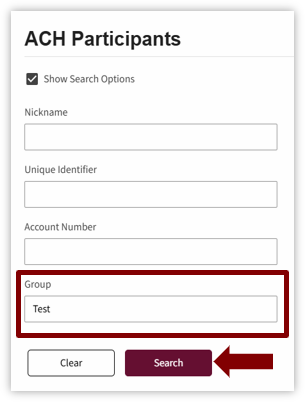
- This feature is valuable if there is a long list of participants and the user only want to see a specific group.
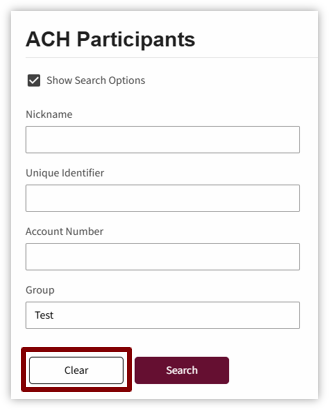
Enter the group name in the Group field, then select the Search button.
- The list of ACH Participants assigned to the group display.
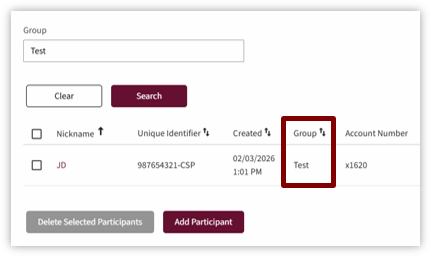
- Select the Clear button to remove the group name and restore the full list of ACH participants.