ACH Templates
ACH Templates are used to capture information for ACH payments.
Accessing One-Time ACH Transfer
- Log in to the Business portal: Enter your User ID and Password, then select the Log In button.
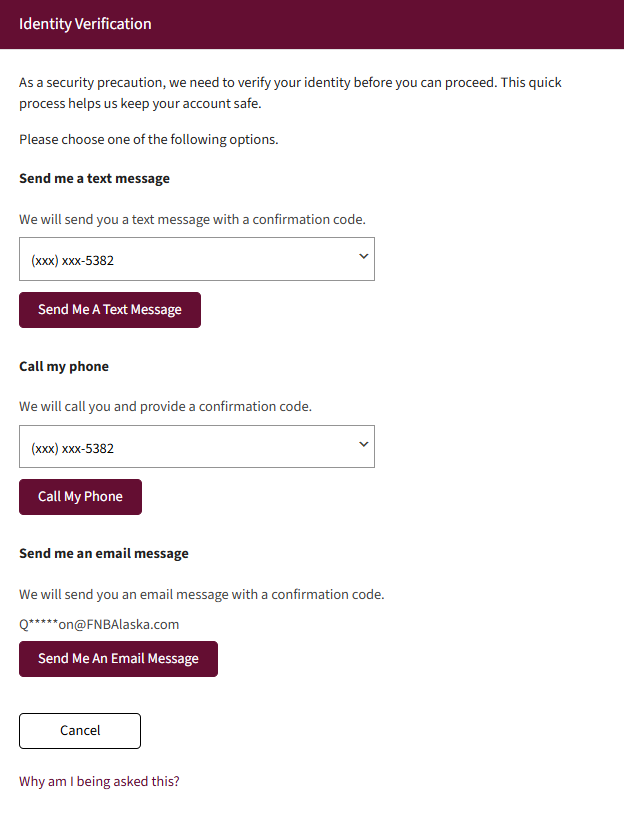
- If prompted, complete the multifactor authentication steps.
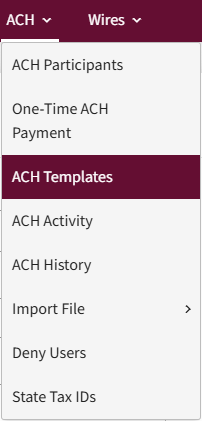
- Select the ACH Templates tab.
- Select ACH Templates from the menu.
The ACH Templates view displays.
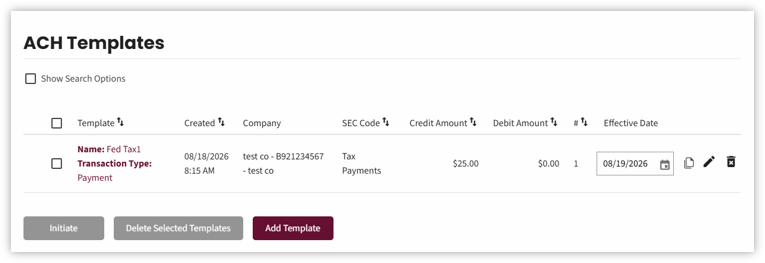
- There are three buttons available on the ACH Templates homepage.
- Initiate – allows the user to process the template for the next available business date factoring in lead days.
- Delete Selected Templates – allows the user to delete templates.
- Add Templates – allows you to create a template.
If the buttons are disabled, it indicates the function is not available until a template is selected.

Creating ACH Templates
- Select the Add Template button on the ACH Templates homepage.
An interim screen displays to select a transaction type

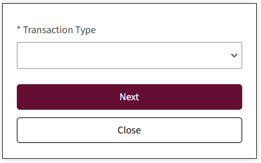
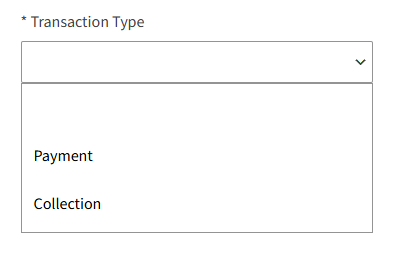
- Select the Transaction Type down arrow to display the transaction type options.
- Payment allows funds to be sent to a recipient.
- Collection allows funds to e withdrawn from a recipient.
| Proper documentation is required to be maintained |
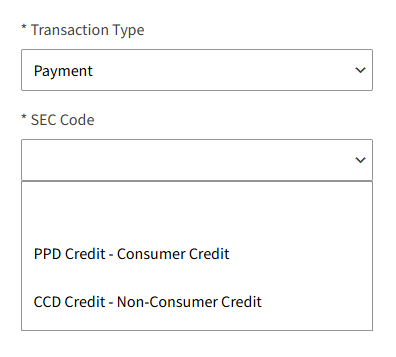
- Select the appropriate SEC code.
The SEC or Standard Entry Class codes are used to describe the type of transaction and ensure compliance with ACH network regulations.
Select the down arrow to see the list of SEC codes.
| This is not an exhaustive list of SEC codes. Users will only have access to the SEC codes assigned to their Entitlements. |
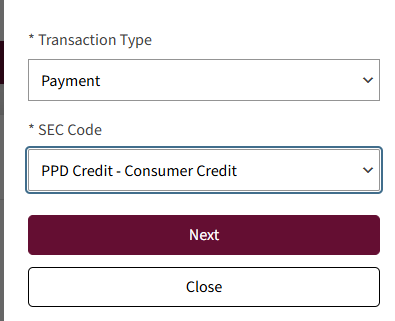
- Select the Next button to proceed or Close to cancel the entry.
The Template Details view displays.
This is where the details to create a template are entered.
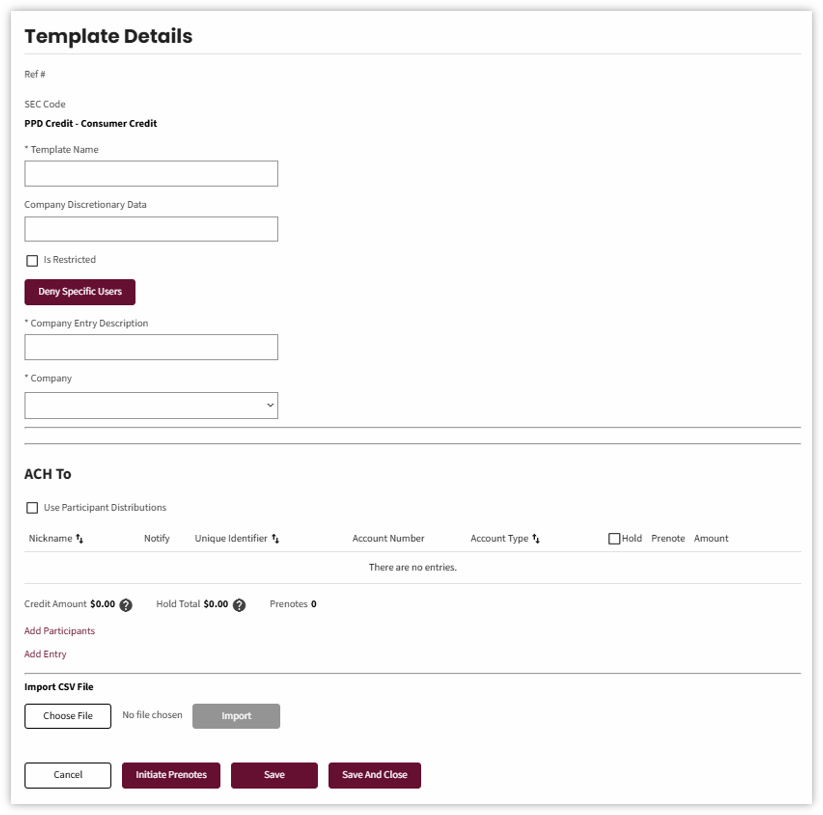
- Complete the following field, as applicable:
- Enter the name of the template in the Template Name field.
NOTE: The name can be whatever the customer chooses up to 40 characters. - Enter any unique information up to 20 characters about the company or template in in the Company Discretionary Data field. This is an optional field.
- Select the Is Restricted checkbox to manage restricted template.
- Select the Deny Specific Users button to deny specific users access to a template. The Deny ACH Template Access view displays. Search for or select specific users to deny access to the template. If the wrong user is inadvertently selected, select the red X to remove them. Select the Submit button.
- Enter a description of the template in the Company Entry Description field. There is 10-character maximum.
- Select the Company down arrow to select the originating company that the template is being created for.
- Enter the name of the template in the Template Name field.
| If the user manages multiple companies, each company will display. |
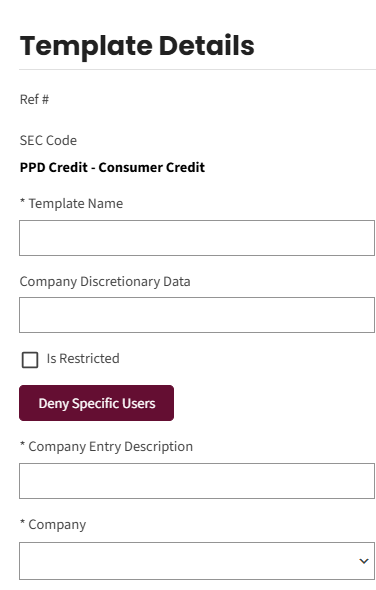
- The ACH To section is where the participants that will receive the payments are selected.
- Select the Add Participants link.
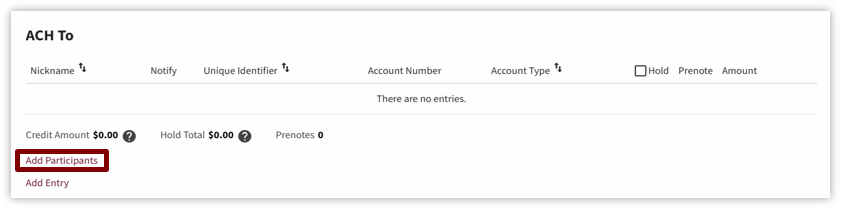
- The ACH Participants view displays.
The user can add a new participant or select an existing participant from the list.
| Participants are typically added in the ACH Participant module; however, if you forgot to add a participant, you could add them by selecting the New Participant button and completing the Participant Details view. |
- Select a participant, then select the Add Selected Participant button.
The system returns to the Template Details homepage where you now have visibility to the participant in the ACH To section.
- Enter the amount to be paid to the participant in the ACH To Amount field.
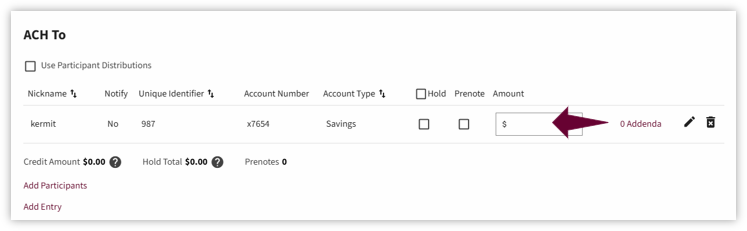
- Below is an overview of additional fields in the ACH To section.
- Hold checkbox – Check this box to place an entry on hold and to be excluded from the batch.
- Prenote checkbox – Check this box if the entry is a prenote and will be excluded from the batch. Prenotes are used to verify bank information before sending or pulling actual funds.
- Addenda link – Select the link to view addenda. Addenda provides additional information about an ACH transaction.
- Edit participant details from this view by selecting the Edit (pencil) icon or delete the entry by selecting the delete (trash can) icon.
- The Credit Amount field displays the total credit amount for all entries that are not marked hold or prenote.
- The Hold total is the total amount of all entries marked hold.
- Prenotes is the total amount of all entries marked prenote.
- Hover over the question marks for a description of the field.
- The Import CSV File section allows the user to import a CSV file.
- Once you have completed entering information in the Template Details view, select one of the following options:
- Cancel any changes you have made.
- Initiate Prenotes to initiate a batch that only contains prenote transactions.
- Save the template – this option saves the template and remains on the Template Details view.
- Save And Close the template – this option saves the template and closes the Template Details view.

The system returns to the ACH Templates homepage and a confirmation displays indicating the template has been added and the newly created template is visible. Going forward, you can use these templates to initiate ACH transfers.
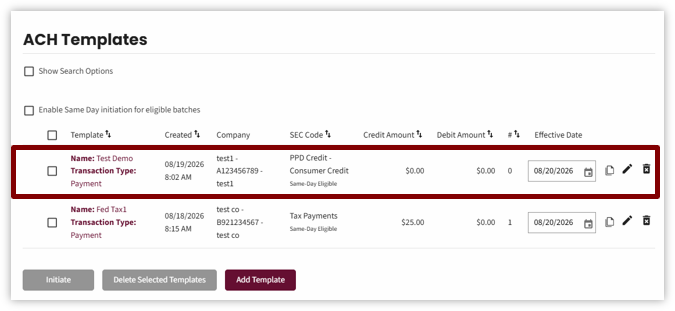
- The following Actions can be taken on the ACH Templates homepage once a template has been created:
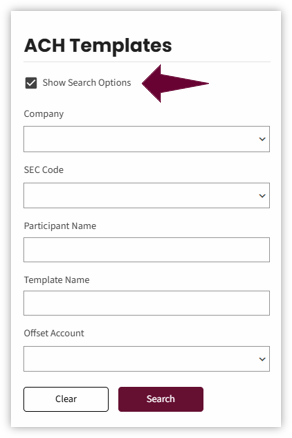
The Show Search Options allows the user to search for a template.
The user can search by:- Company
- SEC Code
- Participant Name
- Template Name
- Offset Account
Uncheck the Show Search Options checkbox to close the search view.
Templates can be edited or deleted
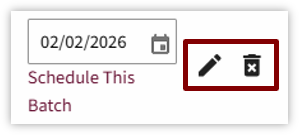
- Select the Edit (pencil) icon to edit a template. The Template Details view displays. Make the necessary changes, then select the Save and Close button.
- Select the Delete (trash can) icon to delete a template. Select the OK button on the delete confirmation.
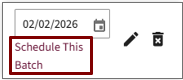
- Schedule this Batch allows the user to schedule the batch as a recurring batch. Select the link and complete the required fields. Enter the Start Date, Frequency, End Date, or Number of Transfers, then select Initiate.
- Input token and click submit
- To initiate or start processing a batch, you can initiate a template from the Recurring Batch Schedule view or from the ACH Templates homepage.
From the ACH Templates homepage, select the checkbox for the intended template, then select the Initiate button to start the ACH process.
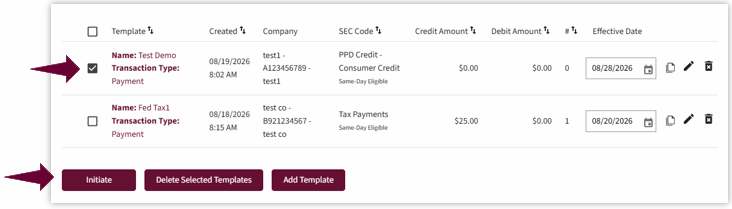
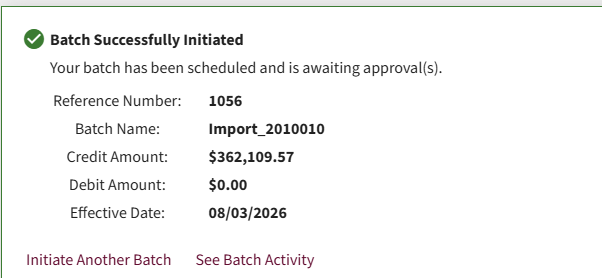
- The pop-up message appears that the batch has been initiated.