Purpose
This How-To guide provides detailed instructions on how to create a one-time ACH payment.
One-Time ACH Payment (Transfer)
A one-time ACH payment (transfer) is a transaction sent to or withdrawn from a participant on a one-off basis.
Accessing One-Time ACH Transfer
Follow the steps below to access One-Time ACH Transfer.
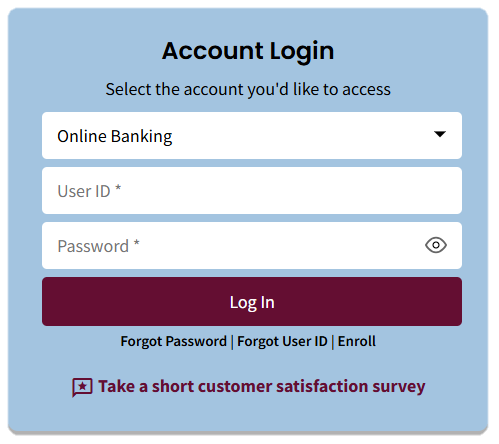
- Log in to the Business portal: Enter your Customer ID and Password, then select the Log In button.
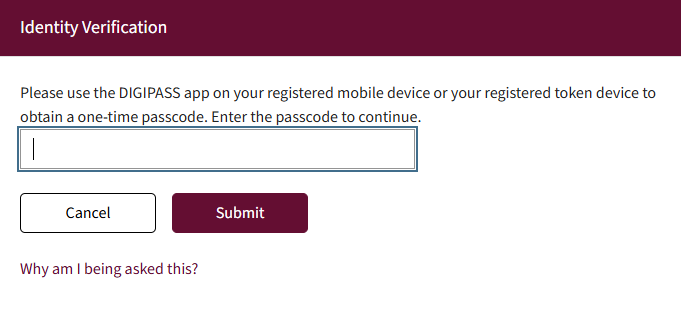
- You will be prompted to enter the token and click Submit.
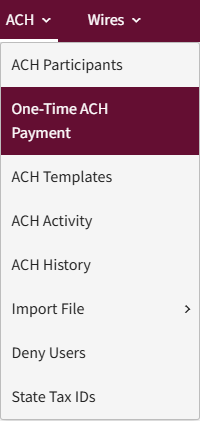
- Select the ACH tab, then select One-Time ACH Payment from the menu.
- The Transaction Type pop-up displays.
Select the Transaction Type down arrow to display the transaction type options.
Options are:
- Payment – Allows the customer to send funds to a recipient. Proper authorization is required and maintained by the customer.
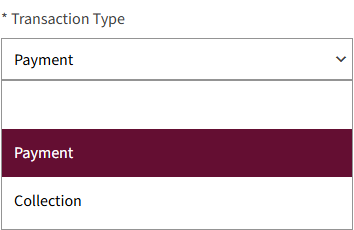
- Collection – allows the customer to withdraw funds from a recipient. Proper documentation is required for a collection one-time transfer and maintained by the customer.
- Select Payment or Collection, as appropriate.
- The SEC or Standard Entry Class Code field displays. SEC codes are used to describe the type of transaction and ensure compliance with ACH network regulations.
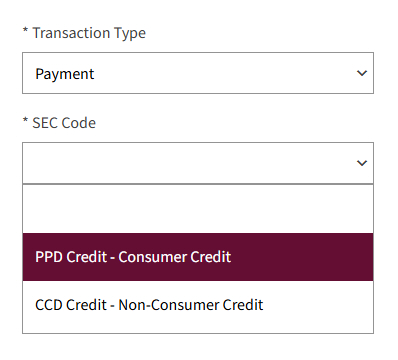
Select the down arrow to see the list of SEC codes. This is not an exhaustive list of SEC codes.
Customers will only have access to the SEC codes assigned to their Entitlements.
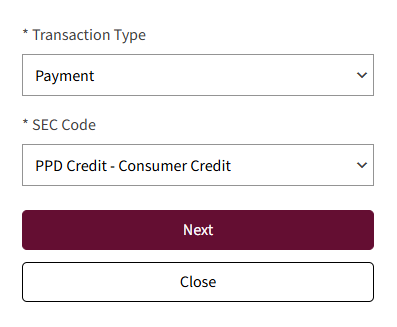
- Select the appropriate SEC Code, then select Next to proceed or Close to cancel the entry
The One-Time ACH Transfer view is where you will enter the details to create a one-time payment.
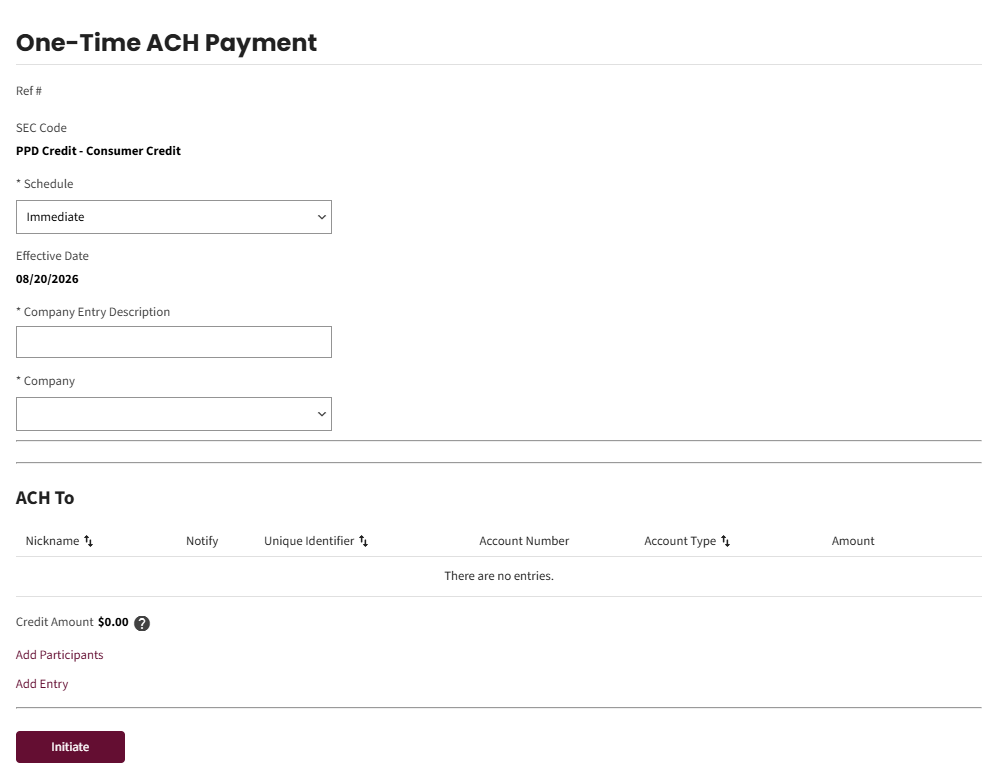
- Complete the required fields in the top section of the One-Time ACH Transfer view.
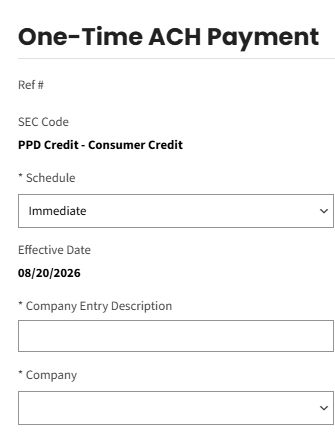
- Select the Schedule down arrow to schedule an:
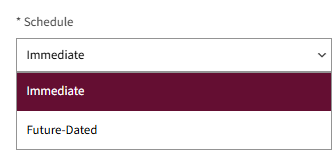
- Immediate – Occurs at the first available ACH window, which is 1-2 days delivery.
- Future Dated – Any available effective date.
- Select the Effective Date.
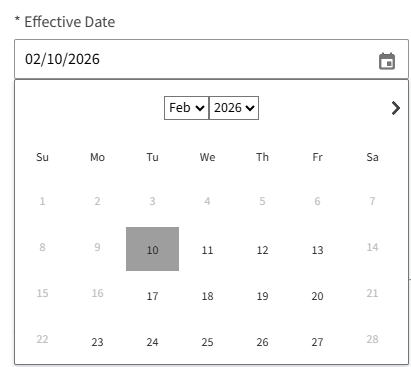
- Immediate – The date defaults to the first available ACH window for 1–2 day delivery.
- Same Day – The date defaults to the current date, cutoff time 10:00 am AKT.
- Future Dated – Select the calendar icon and choose a date in the future to schedule the payment.
- Enter a description of the one-time transfer in the Company Entry Description field. This field has a 10-character maximum.
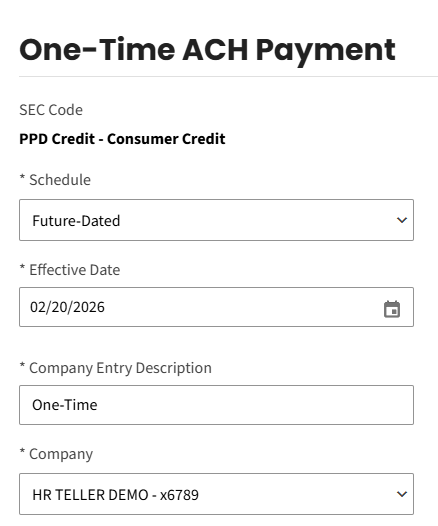
- Select the Company field down arrow to select the originating company.
NOTE: If the customer manages multiple companies, each company will display.
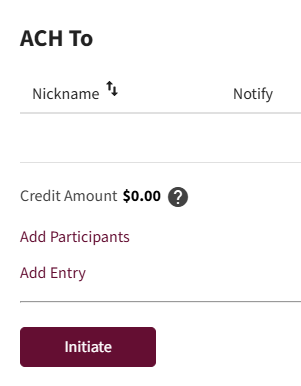
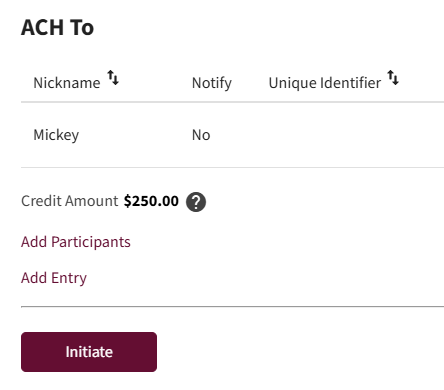
- The next section is the ACH To section. This is the participant that the payment will be sent to.
- Select the Add Participants link.
The Participants view displays.
Add a New Participant or Add Selected Participants on this view.
Participants are typically added in the ACH Participants module; however, if you forgot to add a participant, you can add them at the template level by selecting the New Participant button and completing the Participant Details view.
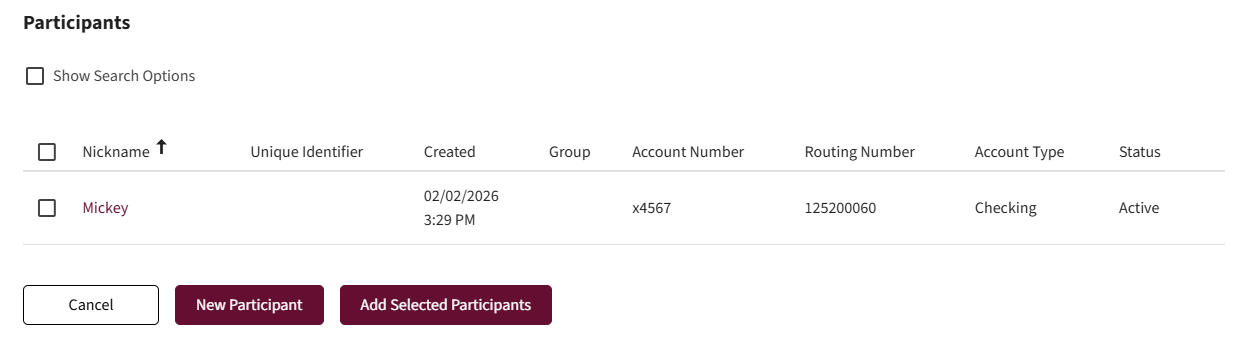
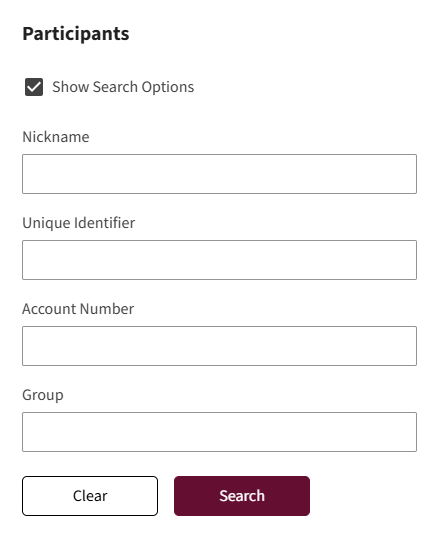
You can also filter by group by entering a group name in the Group field. Refer to the ACH Participants video or Learning Guide for detailed instructions to add a new participant.
- Select a participant, then select the Add Selected Participant button.

The system returns to the One-Time ACH Transfer view and the selected participant is visible in the ACH To section.
- Enter the amount to be paid to the participant in the ACH To Amount field. If adding addenda information click addenda, this is optional.
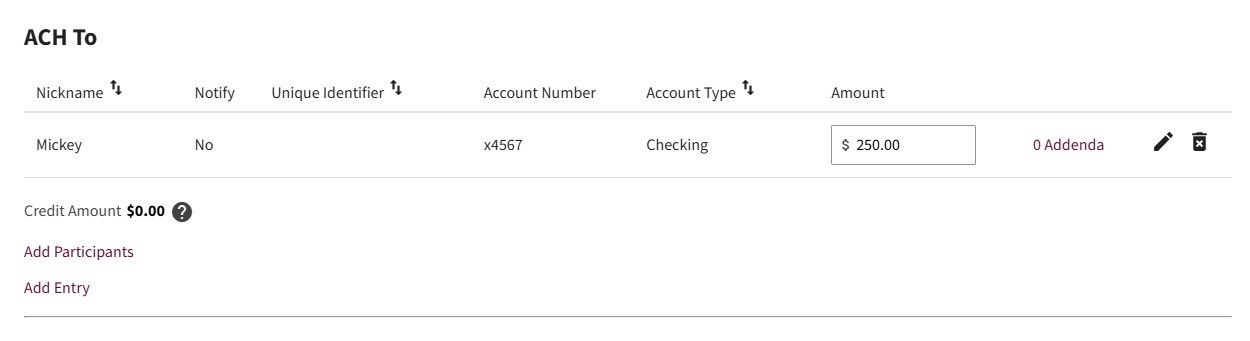
- Information about the transaction can be input into this field such as invoice number, payroll information etc., up to 80 characters.
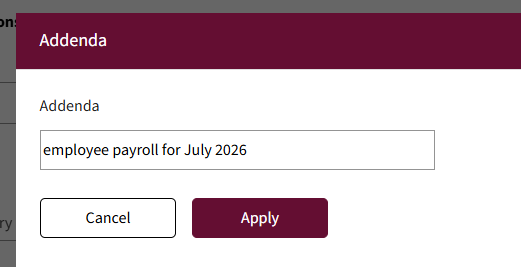
Then click Apply.
Once the amount is entered in the ACH To section, the credit amount field displays the total dollar amount of items entered into the batch.
- Select the Initiate button.
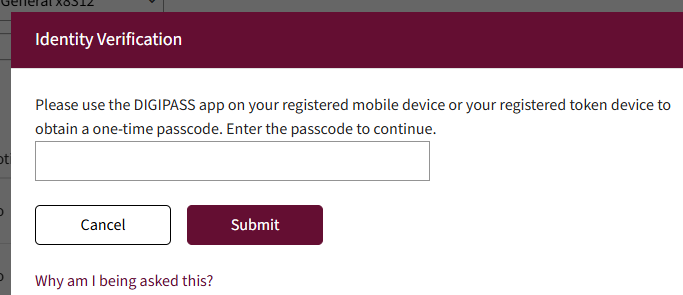
- If prompted, enter OTP and Submit.
A confirmation displays indicating the batch successfully initiated. The customer will also receive an email notification.
ACH Activity view automatically displays after the batch is initiated.
You can also access this view under the ACH tab, then select ACH Activity.
- The ACH Activity view displays the following batch activity:
- Pending (Same Day) ACH Batches are batches that will be processed the same day.
- Pending ACH Batches are the immediate and future-dated ACH transfers awaiting approval.
- Scheduled ACH Batches are transfers that have been initiated, but they recur automatically on a designated frequency. After the initial approval, they generate automatically. If the batch is modified, it will need to go through the approval process again.
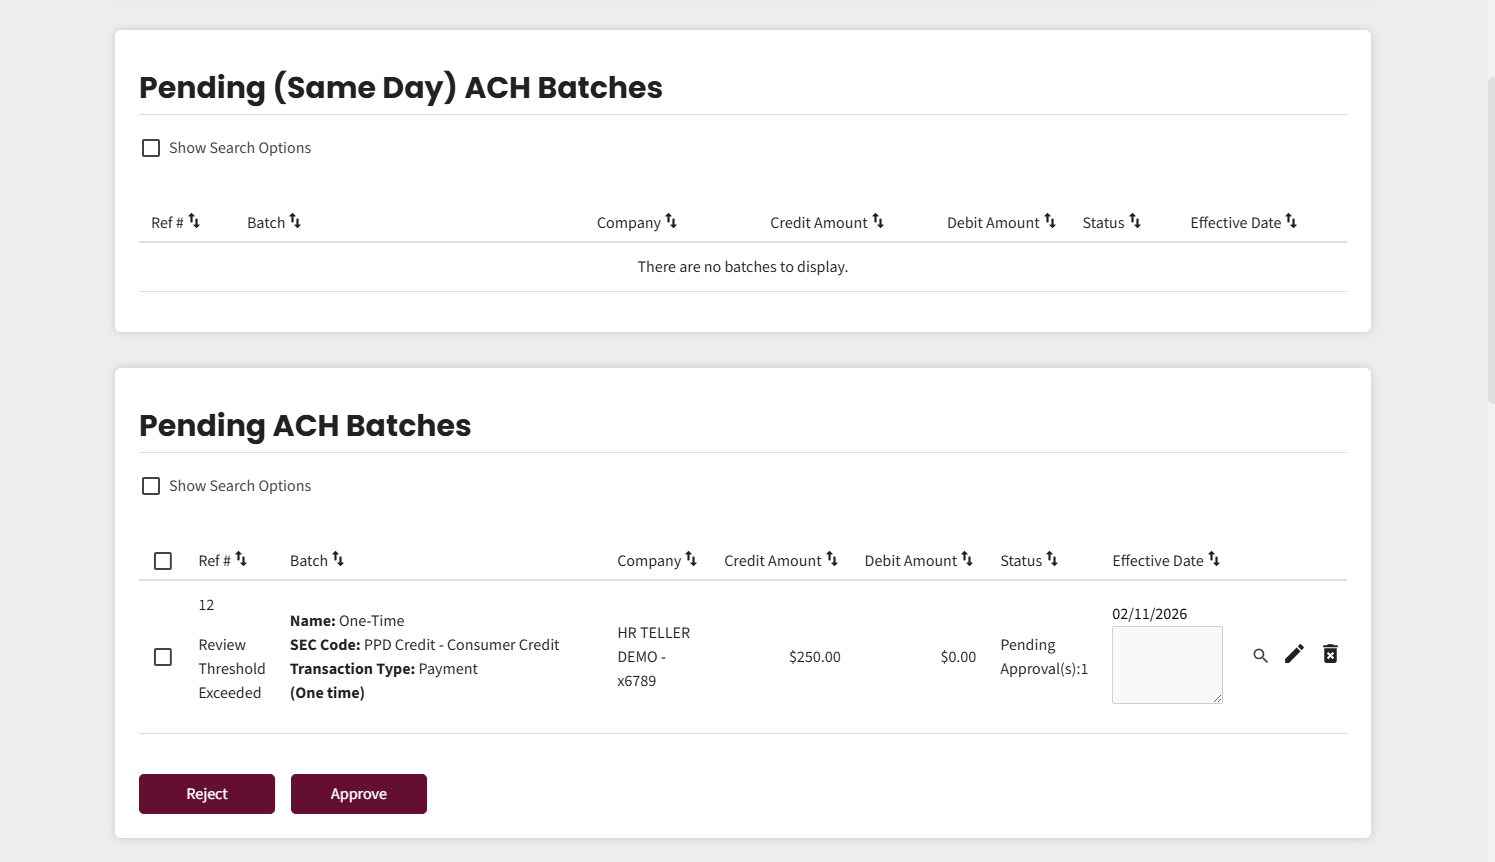
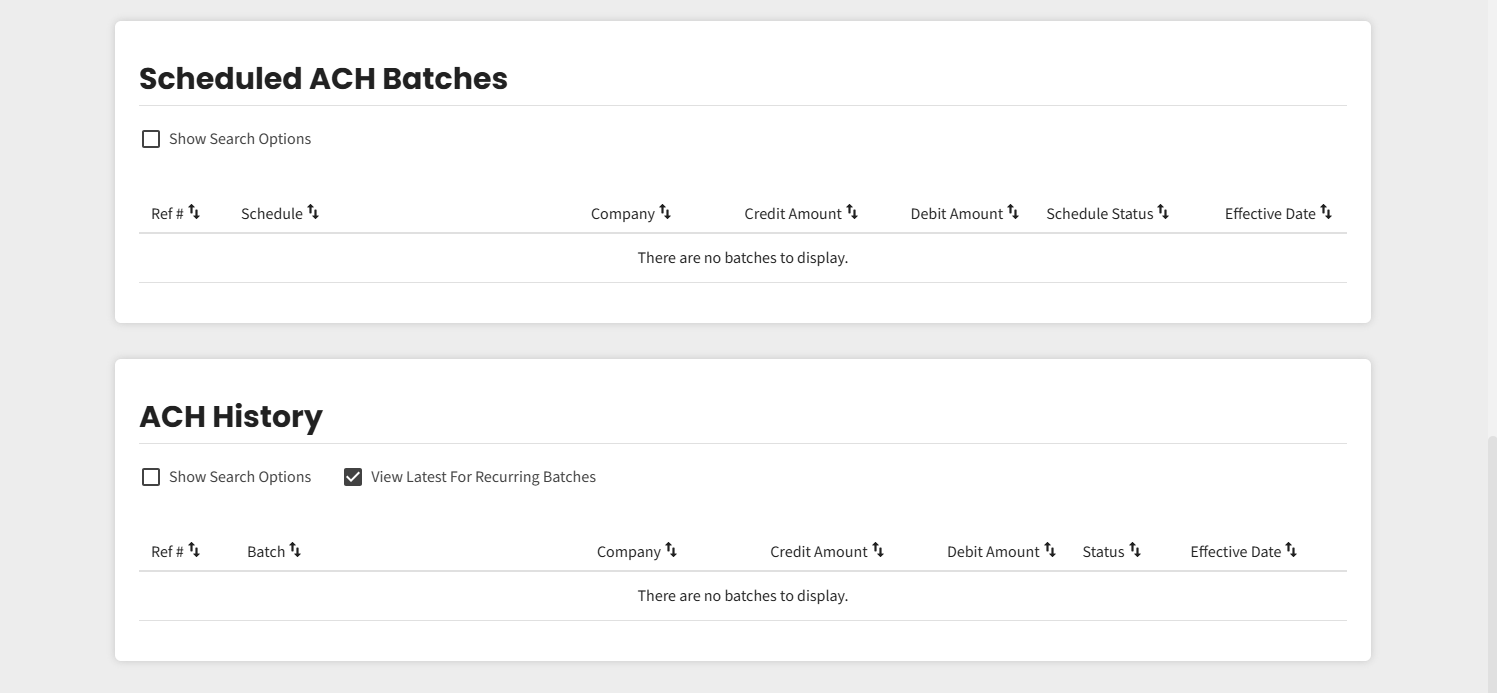
- Refer to the Status column to see the status of each batch.
Below is a list of the different statuses:
- Processed – Batch was successfully included in the NACHA file being transmitted to the Fed.
- Approved – Batch has been reviewed and approved by a designated approver.
- Rejected – Batch was reviewed by a designated approver, but was not approved due to discrepancies.
- Canceled – Batch was withdrawn by a business customer and will not be included in the NACHA file being transmitted to the Fed.
- Canceled by System – Batch was withdrawn by action of an Financial Institution Admin and will not be included in the NACHA file being transmitted to the Fed.
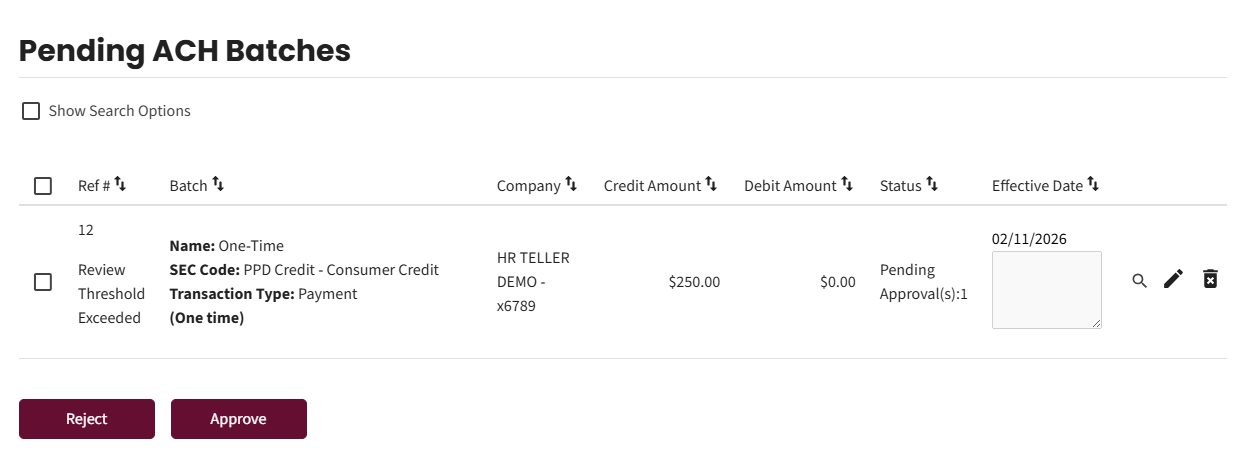
- The following actions can be taken in the ACH Activity view depending on the status of the batch:
- View, edit, or delete pending batches for each category by selecting the appropriate icon.
- Search for a batch by selecting the Show Search Options checkbox
- There are several search criteria available to perform a search.
- Enter information in the desired field(s), then select the Search button.
- The search results display at the bottom of the view.
- Deselect the checkbox to close the Show Search Options view
- The View Latest for Recurring Batches displays the ACH transfers in order of process.

- The Export feature allows you to export the batch information into a PDF or CSV file.
- Click the magnifying glass on a batch and scroll to the bottom of the page. Click export to PDF or CSV to export the transactions in the batch.
- Approval Workflow:
On the ACH Activity screen If the customer is a designated approver, an Approve and Reject button displays in the batch category for which they have approval rights. Approvers receive a notification when approval activity is required.