Purpose
Account linking (data aggregation) allows customers to connect their First National accounts to supported accounting software and financial applications, such as QuickBooks, Quicken and other tools. Web Connect is a form of data aggregation where customers download a QFX or QBO file from online banking and use it to import transaction information in to QuickBooks or Quicken.
Accessing Web Connect
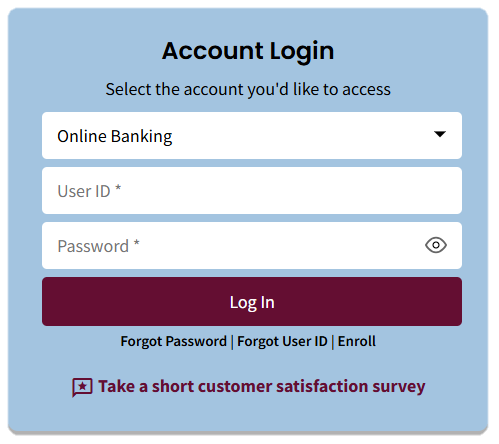
- Log in to online banking:
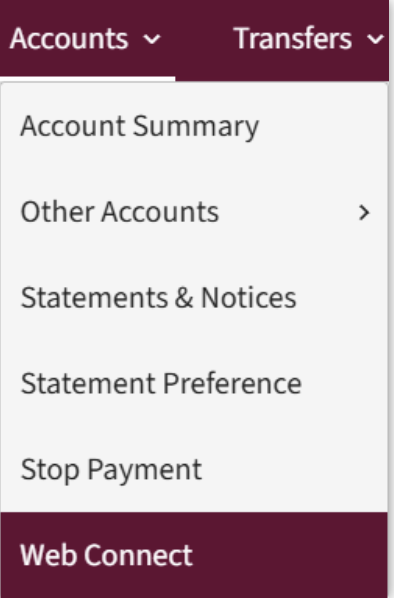
- Select the Accounts tab from the home page.
Select Web Connect from the dropdown menu.
Downloading Quicken and QuickBooks files
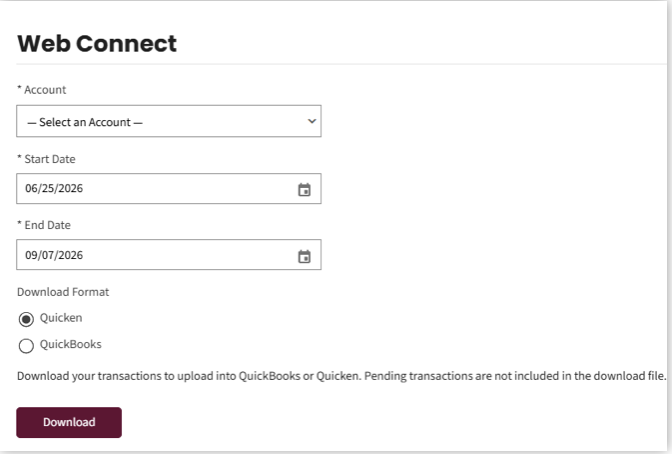
The Web Connect screen displays.
- Select the Account dropdown to view and select eligible accounts.
- Use the Start Date and End Date calendar fields to select a date range for which you would like to download transactions.
- Select your Download format. Options are Quicken and QuickBooks.
- Click Download.
Upload files into Quicken and QuickBooks
The Web Connect screen displays.
- Select the Account dropdown to view and select eligible accounts.
- Use the Start Date and End Date calendar fields to select a date range for which you would like to download transactions.
- Select your Download format. Options are Quicken and QuickBooks.
- Click Download.
After clicking Download the appropriate file, follow your Quicken or QuickBooks application instructions to upload the QFX or QBO file.
- Quicken (Windows)
- In Quicken, choose File > File Import > Web Connect (.QFX) File.
- Use the import dialog to select the Web Connect file you downloaded. An “Import Downloaded Transactions” window opens.
- Choose Link to an existing account. Select the matching account in the drop-down menu. Associate the imported transactions to the correct account listed in Quicken.
- Repeat this step for each account you have connected to this institution.
- Quicken (Mac)
- Drag and drop the downloaded file into the box titled Drop download file. Choose Web Connect for the “Connection Type” if prompted.
- ii.In the “Accounts Found” screen, ensure you associate each new account to the appropriate account already listed in Quicken. Under the Action column, click Link to pick your existing account.
Important: Do NOT select “ADD” in the Action column unless you intend to add a new account to Quicken. - Click Finish.
- QuickBooks (Windows)
- Choose File > Utilities > Import > Web Connect Files. Locate your saved Web Connect file and select to import.
- In the Select Bank Account dialog, select Use an existing QuickBooks account.
Important: Do NOT select “Create a new QuickBooks account” unless you intend to add a new account to QuickBooks. - In the drop-down list, choose your QuickBooks account(s) and click Continue. Confirm by selecting OK.
- QuickBooks (Mac)
- Choose File > Import > From Web Connect. Use the import dialog to import your saved Web Connect file.
- In the Account Association window, click Select an Account to choose the appropriate existing account register.
Important: Do NOT select “New” under the action column unless you intend to add a new account to QuickBooks. - Click Continue and OK for any dialog boxes that require action.
- QuickBooks Online
- Choose Banking from the left column.
- Click File Upload in the upper-right side of the screen and use the upload dialog to locate the Web Connect file you downloaded in step a.
- Choose the appropriate account from the drop-down menu under QuickBooks Account and then click Next.
Important: Do NOT choose “+Add New” in the drop-down menu unless you intend to add a new account to QuickBooks Online. - When the import is finished, click Let’s go!
- Review the For Review tab on the Banking page to view what was downloaded.
- Click Next, and then click Done.
- Repeat this step for each account that you have connected to this institution.