Purpose
This How-To guide provides detailed instructions on how you can access your statements and notices and how to set your electronic statement preferences.
Statements and Statement Preferences
All customers have access to statements and statement preferences within online banking regardless of whether or not they are enrolled in the electronic statements.
How to enroll in Electronic Statements and Notices
- Log in to online banking at FNBAlaska.com or the mobile app.
If prompted, complete Multifactor authentication (MFA).
- From the Accounts menu, select Statement Preference.
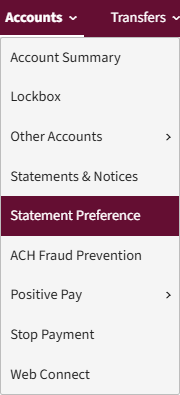
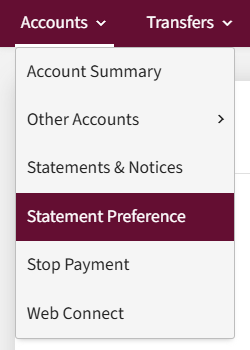
- Read and accept the Electronic Statements and Notifications Disclosure.
- Select the account(s) the customer would like to enroll.
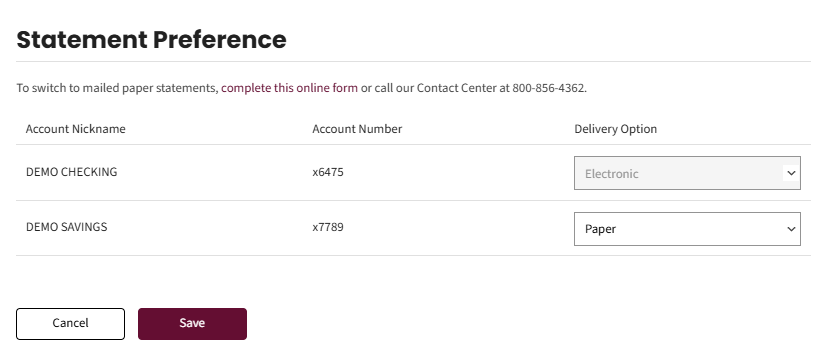
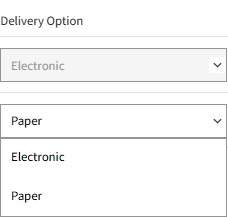
- Choose Electronic as the statement delivery preference.
- Select Save to complete enrollment.
| If you want to change your preference from electronic to paper, use a secure from to submit the request. |
Once enrolled, you will no longer be charged the mailed statement fee (if applicable with your account) and will receive an email when account statements and eligible notices are available to view in online banking, and you will no longer receive your statement via mail.
Accessing Statements digitally
This is where you will view PDFs of your statements. To access statements in online banking:
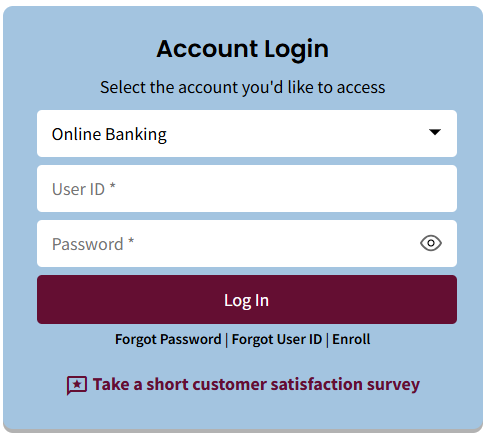
- Log in to online banking: Enter your User ID and Password, then click the Log In button
- Select Accounts, then Statements & Notices.
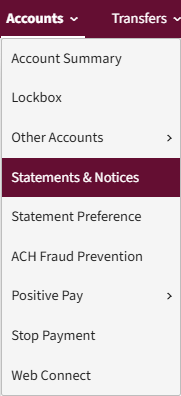
The Statements & Notices view displays:
Viewing Statements
To view statements from E-Statements & Notices:
- Select the All Accounts down arrow, then select the desired account from the menu.
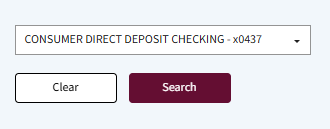
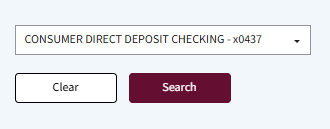
- Select the Search button.
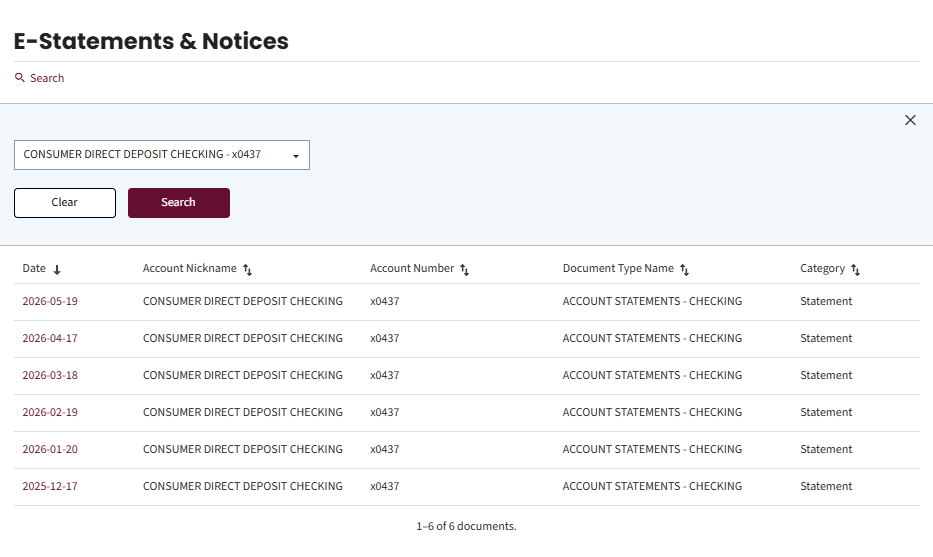
The available statements display.
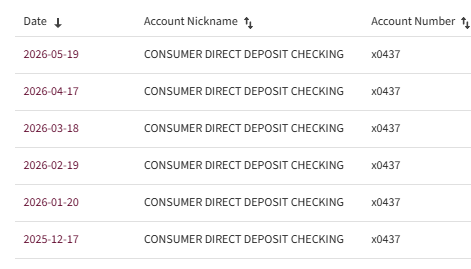
- Select the Date link to view a statement.
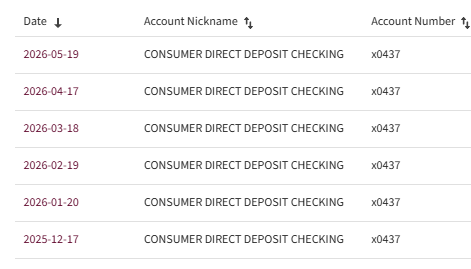
A PDF statement is displayed.
This PDF mirrors exactly what you would see in the mail if you still received paper statements.
Searching for Statements
To search for a statement or notice from E-Statements & Notices:
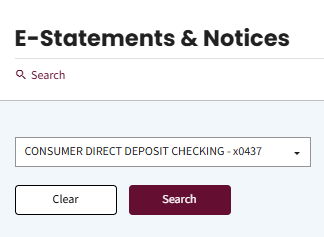
- Select the Search link.
- Complete the following fields to conduct a search:
- All Accounts – Select the desired account.
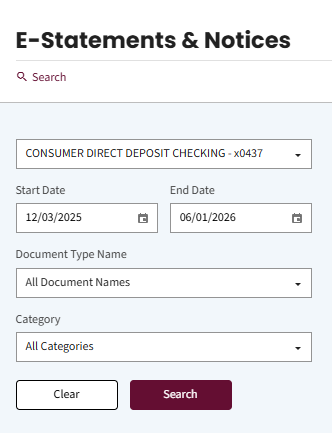
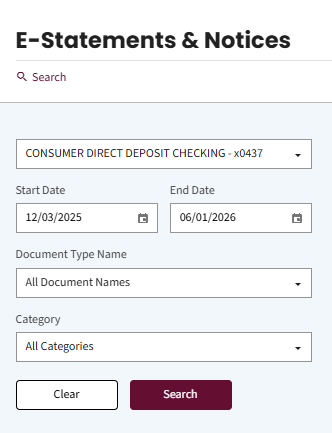
- Start and End Date – The furthest back you can search is 180 days.
- Document Type Name – Document types are linked to templates in Director.
- Category – You can choose a specific category to filter such as: All Categories, Notice, Statement, ACH Advice or Report.
- Select the Search button.
The search results display.