Purpose
This How-To guide provides detailed instructions on how to manage pending wire transfers in the Wire Activity view.
Wire Types
A wire transfer is an electronic transfer of funds via a network that is administered by financial institutions. Wire transfers are sent by one institution and received by another.
Accessing Wire Types
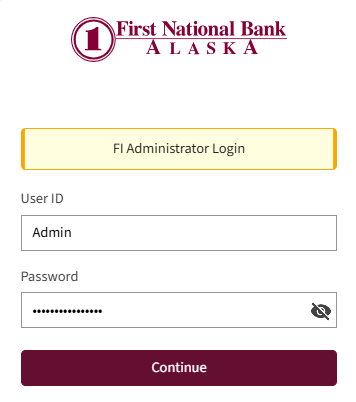
- Log in to the online banking portal: Enter the Customer ID and Password, then select Log In.
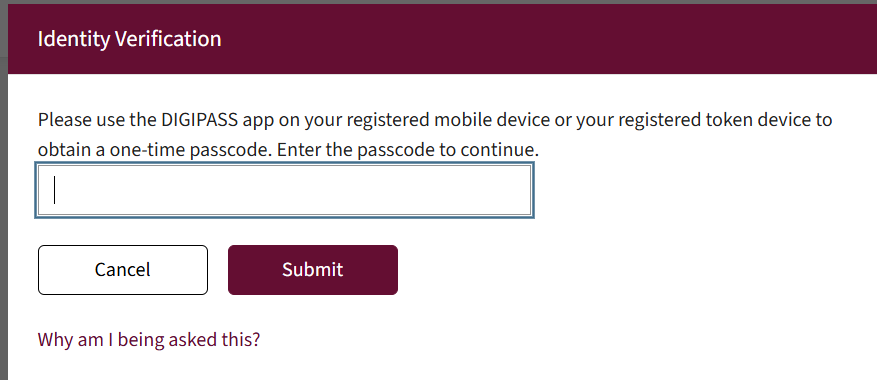
- If prompted, enter the token from DigiPass.
- From the home page with the Accounts Summary page, select Wires tab.
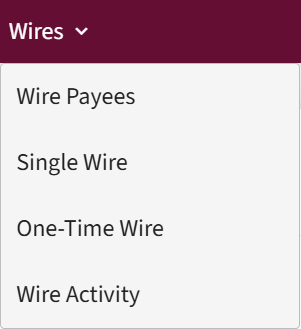
Then select the type of Wire to work with:
- Single Wire
- One-Time Wire
Single Wire
A Single Wire is a wire sent to a payee already in the system. To complete a wire for a recipient who is not set up as a payee, create a One-Time Wire.
Follow the steps below to create a Single Wire:
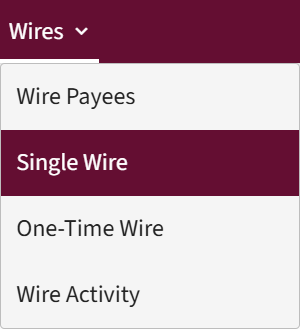
- Select the Wires tab. Then select Single Wire from the dropdown menu.
- The Single Wire screen displays data fields to fill, including:
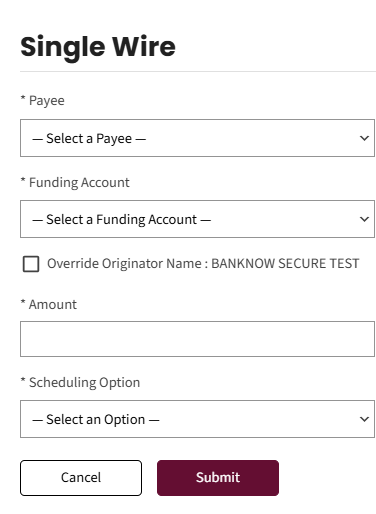
- Payee
- Funding Account
- Override Originator Name
- Amount (Currency will be listed if foreign wire}
- Scheduling Option
- Message to beneficiary
- Select the Payee drop-down menu to display the list of payees. Select a Payee from the list.
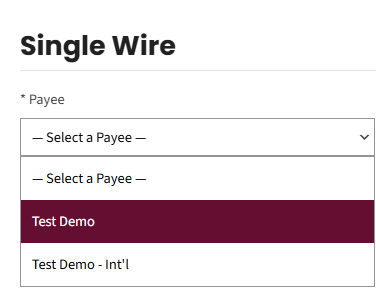
| A wire payee must first be setup to complete a Single wire transfer. The Wire Payees that have been set up will display in the dropdown menu. |
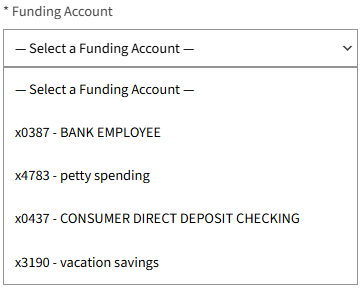
- Select the Funding Account from the dropdown menu. This is the account that the funds will be debited from.
- Enter the amount of the wire transfer in the Amount field.
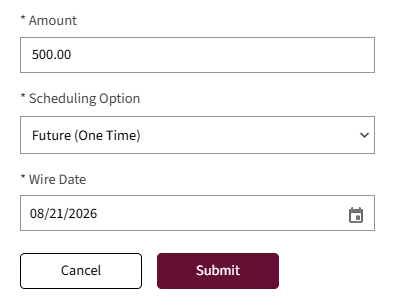
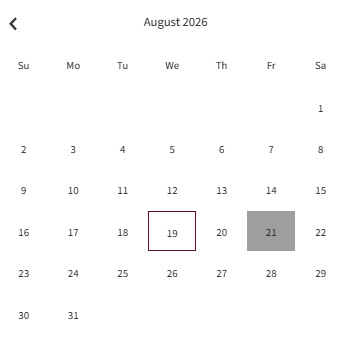
- Select the Wire Date calendar icon to open the calendar. Select the date for the wire to transfer.
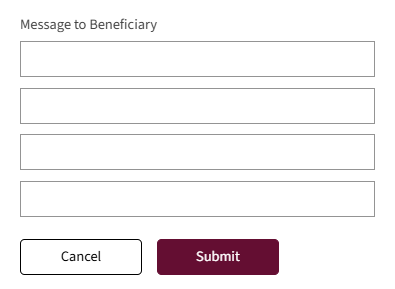
- Enter a note in the message to beneficiary. This 140-character field is used to communicate the purpose of payment for the wire. Some countries require specific purpose of payment information in this field for international wires. Failure to provide this information in these instances may result in delayed or returned wires. This is an optional field.
- Select Submit once all required fields are complete.
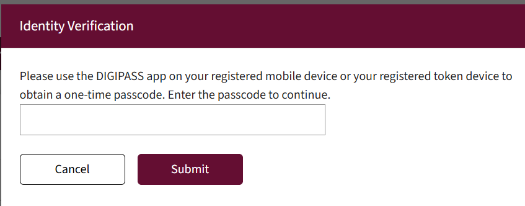
- Enter token received from DigiPass and click Submit.
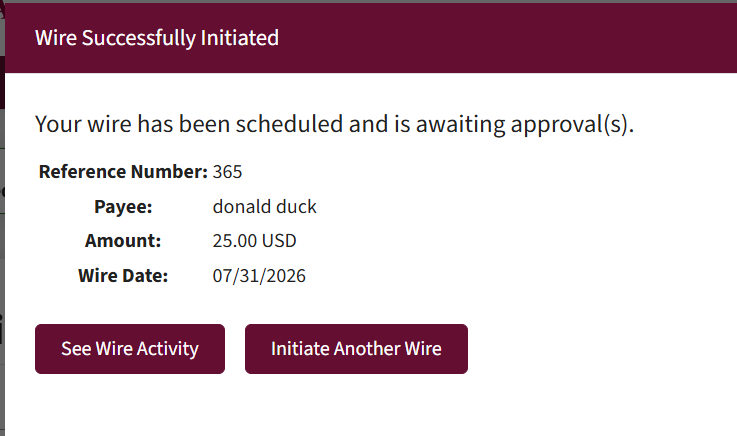
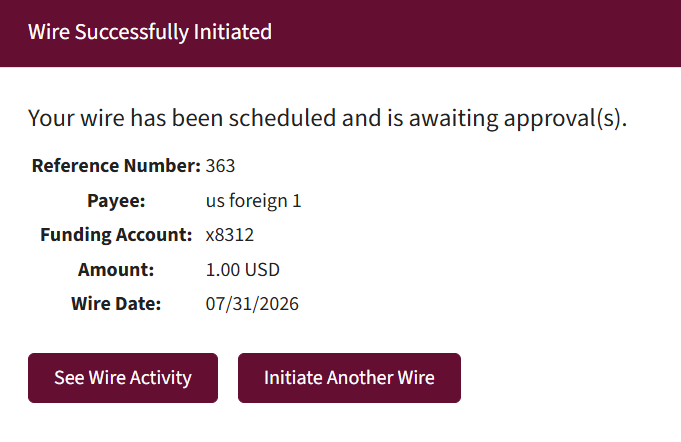
- A confirmation message will display with the details for the wire.
Foreign Currency Specific Fields for a Single Wire
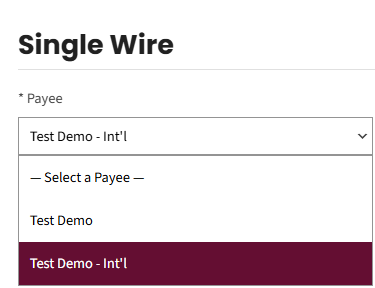
- Select an International Payee from the Payee dropdown menu.
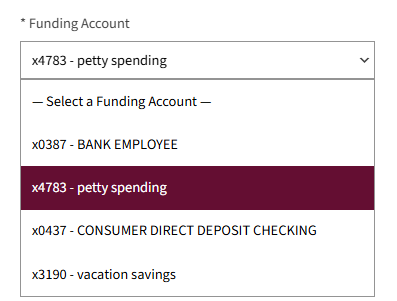
- Select the appropriate account from the Funding Account field.
- Enter the amount in the Amount field.
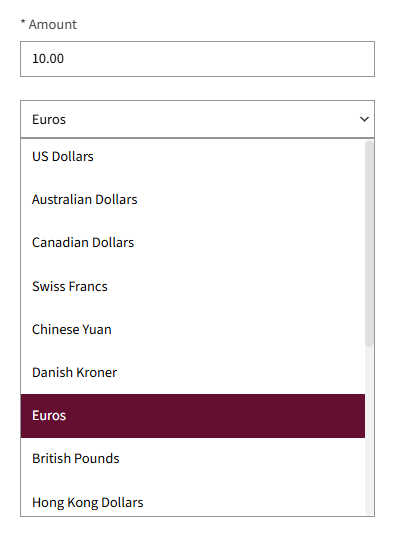
Select the US Dollars field to change the currency from the default U.S. dollars.
Currency options are listed in the dropdown
Select the appropriate currency. When a foreign currency is selected, the system automatically calculates the exchange rate.
| Foreign currency wires are only available as single wires. |
- Select the Wire Date calendar icon to open the calendar. Select the date for the wire to transfer.
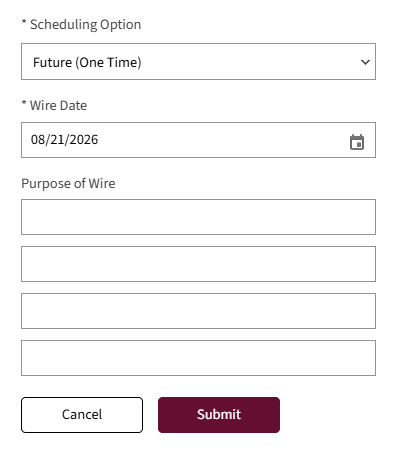
- Enter the purpose for the wire in the Message to Beneficiary field. Select Submit.
- Review the amount in currency and in USD.
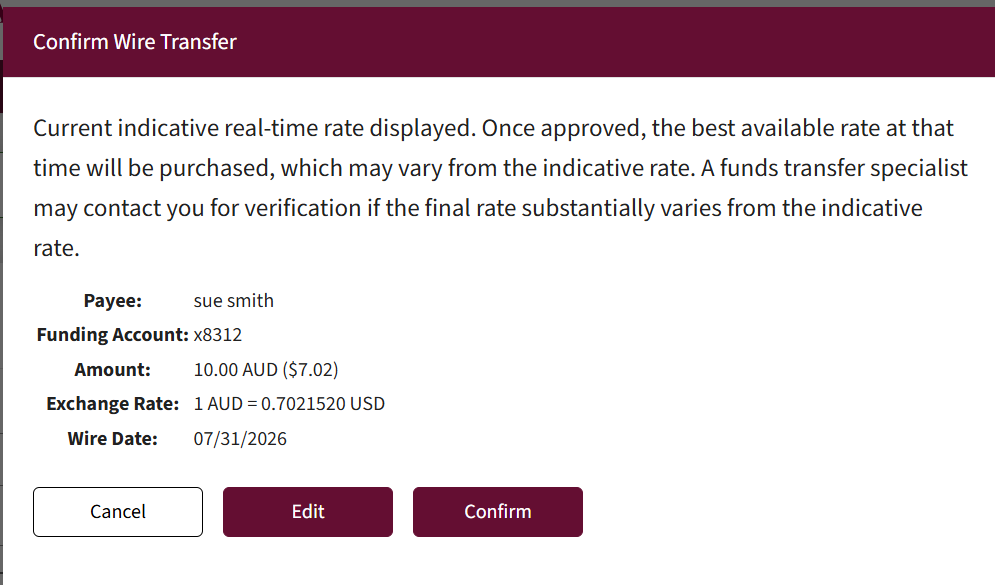
If the exchange rate and if the information is
accurate click confirm.
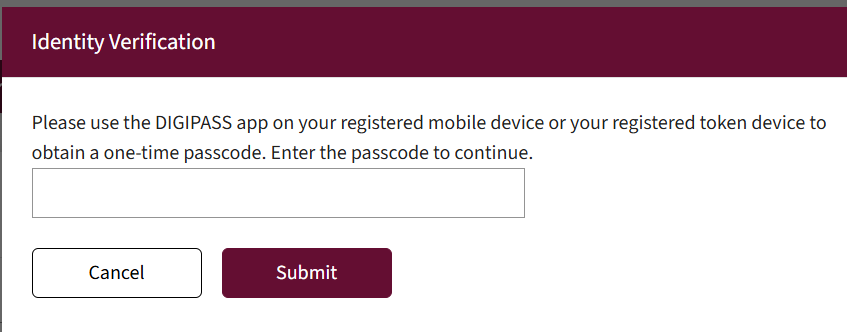
- Enter the token information and click submit
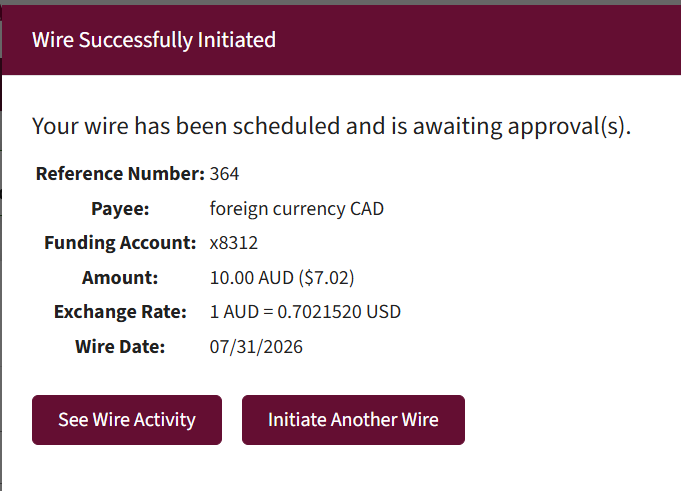
- A confirmation message will display with the details for the wire.
One-Time Wires
To create a One-Time Wire for a payee not in the system:
- Select One-Time Wire from the Wires tab.
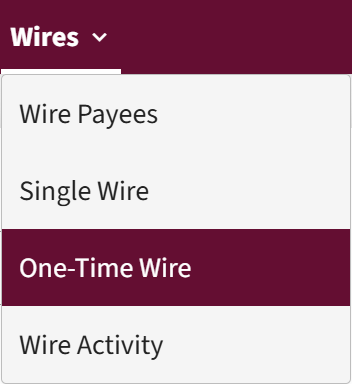
| One-Time wires can only be created for Domestic wires and Foreign wires sent in U.S. currency |
- The One-Time Wire screen displays.
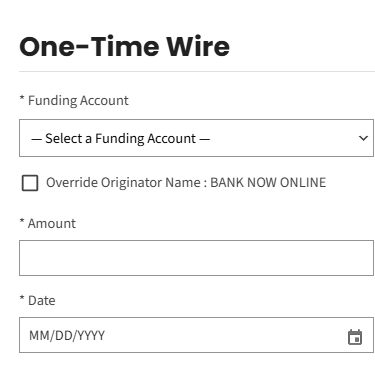
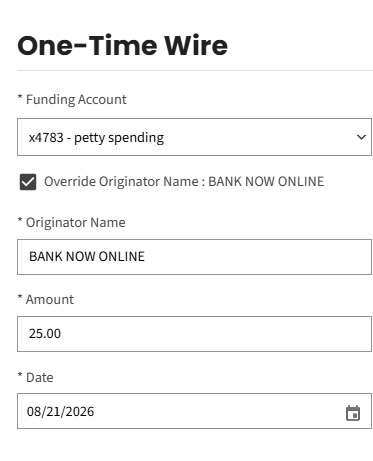
- Select the Funding Account.
Enter the Amount of the wire. Then, select the Date.
- Enter the Payee Information, including:
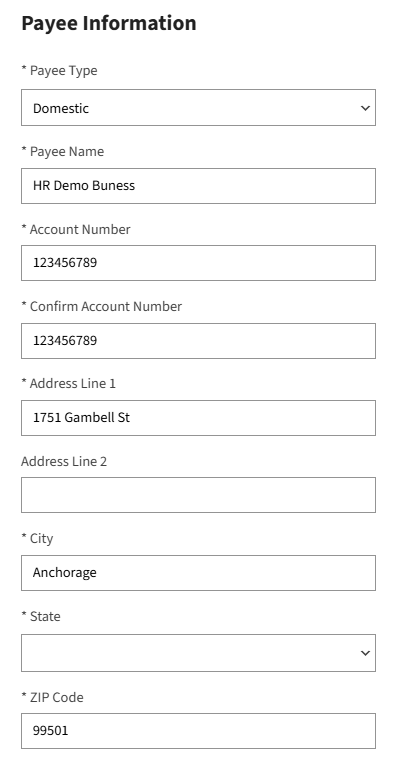
Select Payee Type // Domestic // International for US dollar foreign wires
- Payee Name
- Account Number
- Confirm account number
- address line 1 mandatory (physical address)
- Address line 2 optional
- City
- State
- Zip Code
- Enter the Payee Financial Institution Information. Domestic = ABA
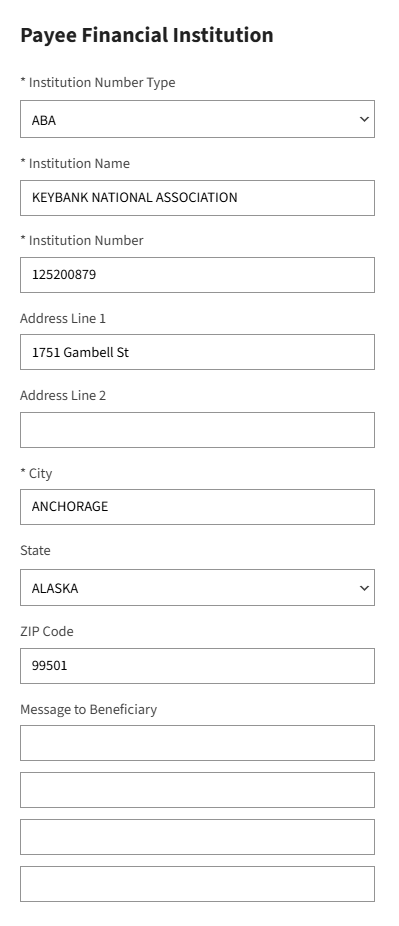
- Enter Institution number which is the banks ABA number
- Then click on the bank name – ABA and address which will then auto fill the Institution name
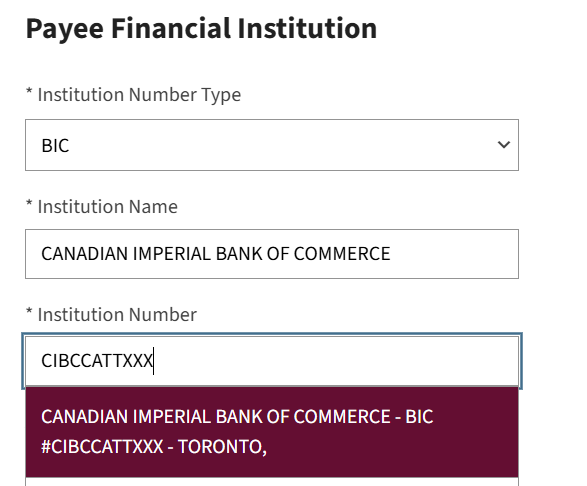
- Or for U.S. Foreign = BIC
- Type the 11-digit BIC SWIFT Code in the Institution number field (if you only have 8 digits add XXX to the end)
- Enter reason for payment (mandatory for all US foreign wires) or message to beneficiary in the Message to beneficiary field
- Click on the name, BIC and address to autofill the information into the Institution name field
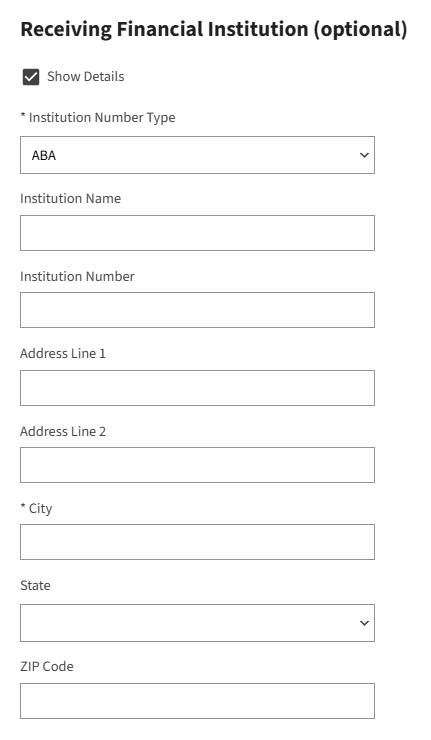
- Complete the optional Receiving Financial Institution information only if a Domestic wire and you are sending to two financial institutions.
- Complete the optional Intermediary Financial Institution information only if Domestic and you are sending to three financial institutions.
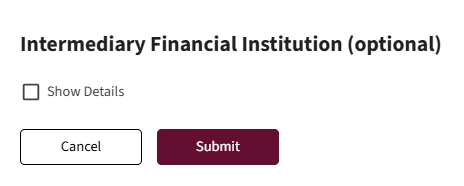
- Select Submit when all required data fields are complete.
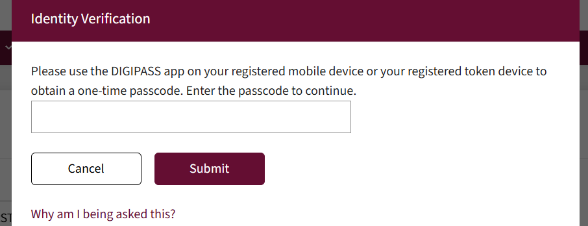
- Input token information and click submit.
- A message confirms the successful initiation of the One-Time wire with its details. Select Initiate Another Wire to start another one-time wire. Select See Wire Activity to see all wire activity.