Set Up Alerts
Account Alerts is a real-time security and transaction alert system that sends you a notification via text, email or push notification. To set up Account Alerts, start by logging in to online banking.
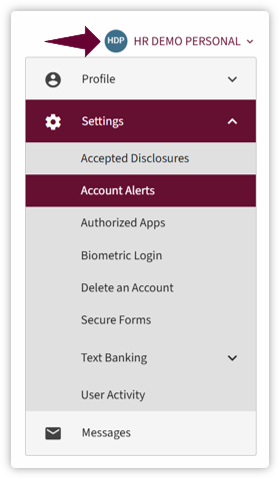
- Navigate to Customer Profile and Settings and click on your name.
Under Settings, click on Account Alerts.
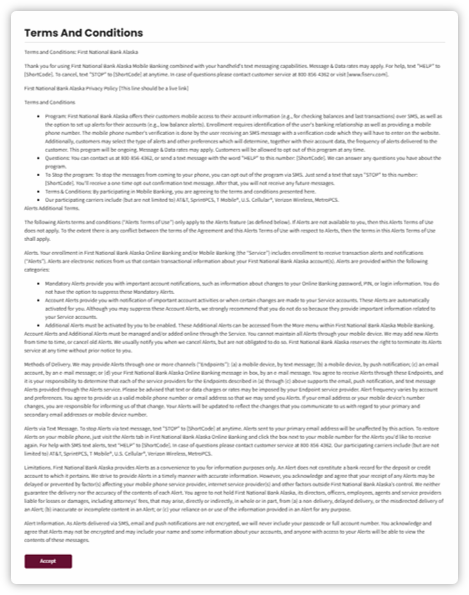
- Read the Terms and Conditions. Click Accept.
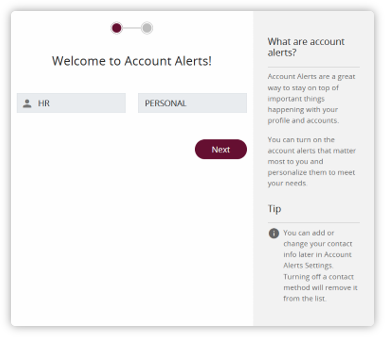
- A pop-up welcome message will display. Click Next.
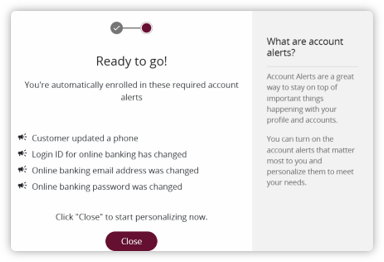
- Automatic enrollment notification will display. Click Close to set and customize alerts.
- The Account Alerts landing page lists the alerts you can set. Categories include:
- Balance – allows you to set below and above balance threshold. This helps avoid overdrafts.
- Certificates – alerts when certificates are about to mature and when it has been renewed.
- Other – alerts when an unexpected action occurs:
- Account Status change
- Charge back occurred
- EFT authorization hold added
- Statement generated
- Stop payment placed on an account.
- Transaction – alerts when deposits, checks or withdrawals post to your account.
- Transfers – alerts when large incoming or outgoing transfers post to your account. Alerts includes outgoing transfer over threshold amount and unsuccessful transfer.
- Profile Alerts – alerts when someone changes your information or trying to access your online banking.
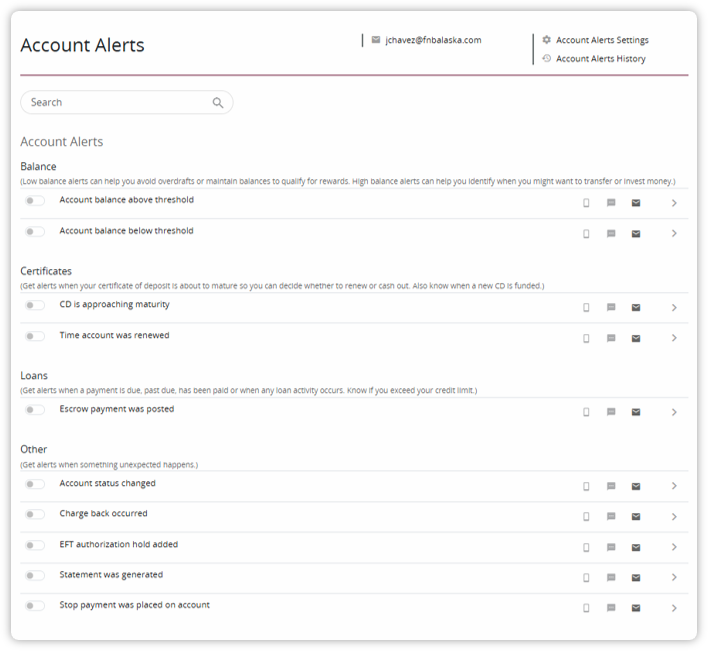
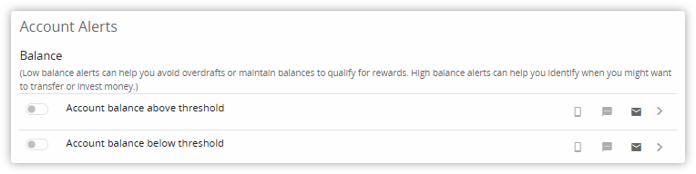
- Select the desired Alert by clicking the toggle, name or arrow to the right.
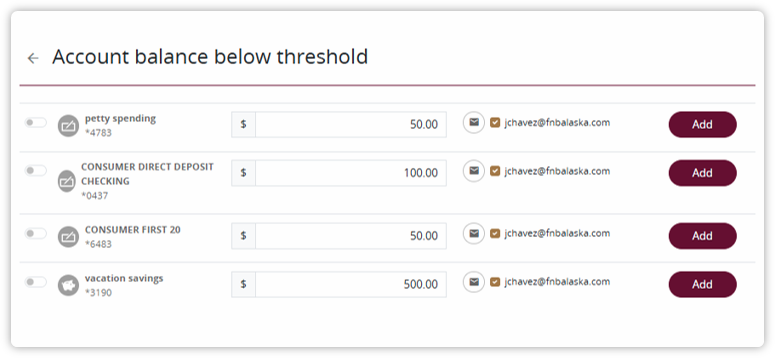
- Enter the amount threshold desired for each account (if applicable). Then click Add to enable the alert.
Adding a phone number
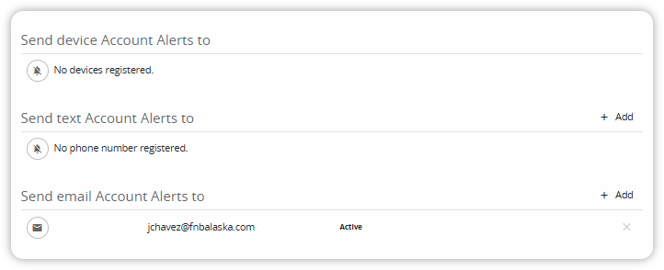
- On the Alerts landing page, click the Account Alerts Settings.

- Under the Send Text Account Alerts to, click + Add.
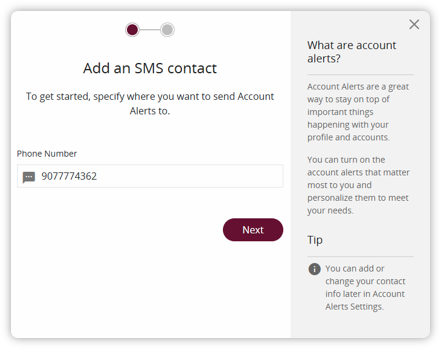
- A pop-up will display prompting you to enter your phone number, then click Next.
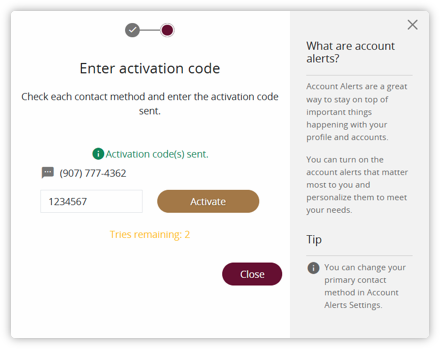
- An activation code will be sent to the phone number provided. Enter the Activation Code, then click Activate. The phone number has now been activated.
Adding an email
- On the Alerts landing page, click the Account Alerts Settings.
- Under the Send Email Account Alerts to, click + Add.
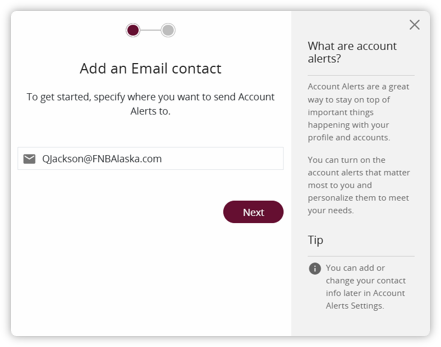
- A pop-up will display prompting you to enter your email, click Next.
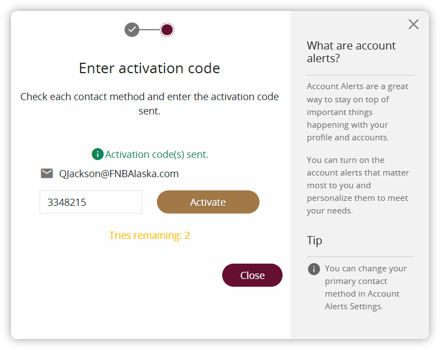
- An activation code will be sent to the email provided. Enter the Activation Code, then click Activate. The email has now been activated.
Quiet Time Set Up
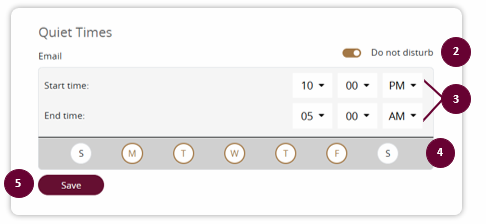
You have the ability to set up quiet times. This prevents any alerts during specific hours of the day. To set up Quiet Times:
- On the Account Alerts landing page, scroll down to the Quiet Times section.
- Toggle the Do not disturb button.
- Set the start and end time.
- Select the days of the week to be activated.
- Click Save.
Changing Time Zone
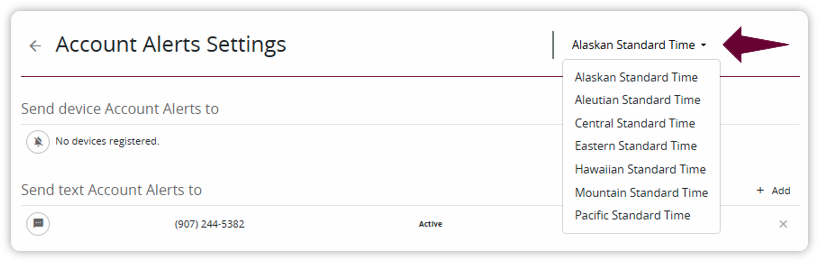
- On the Alerts landing page, click the Account Alerts Settings.
- Click the dropdown on the right side of the Account Alerts Settings.
Select the time zone based on location.
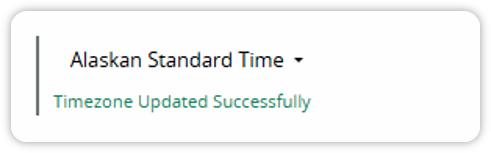
- Once selected, a notification will show that the time zone has been updated.
Account Alerts History
- On the Account Alerts landing page, click the Account Alerts Settings.
- The Account Alerts History view displays.
