User Settings for Business Administrators
Businesses can easily manage their own users with the Settings tool. Permissions for a business administrator to manage other users is set by selecting the Manage Users checkbox under entitlements. The bank enrolls the business administrator based on contract, which gives them the permission to add, edit or delete other business users. The business administrator can then designate other users as Business Managers who have limited permissions to add, edit or delete other users within the system. Businesses can also monitor user activity from the Settings tool.
Managing Business Users
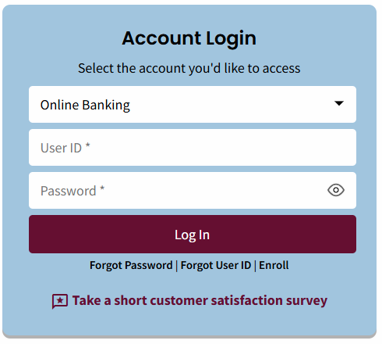
- Log in to online banking: Enter the User ID and Password, and then select the Log In button.
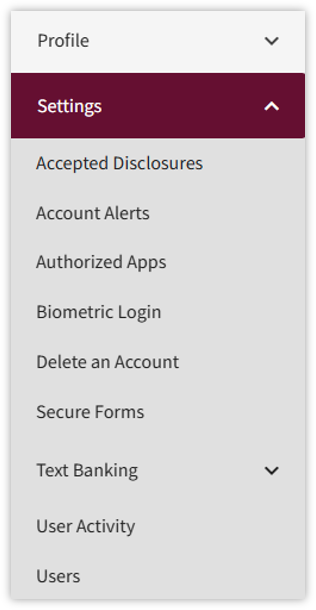
- Select the Profile Name on the top right side, select Settings, and then select Users.
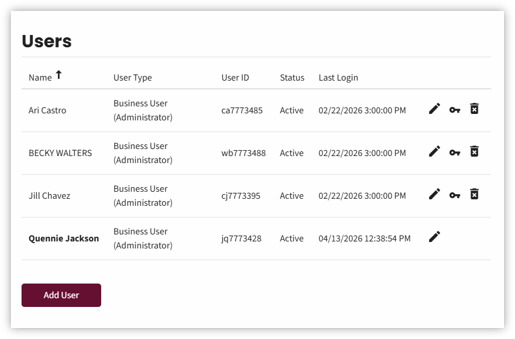
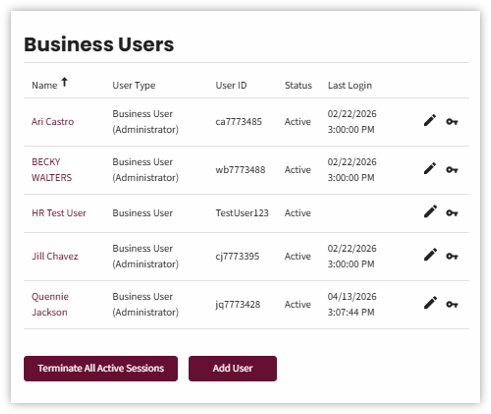
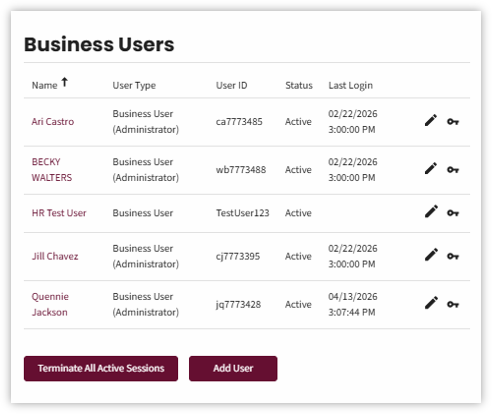
- The current list of users for the business displays.
Each user’s information is displayed including their name, user type, user ID, status and the date of the user’s last login.
The business administrator can edit a user’s profile, entitlements, or delete the user by selecting the appropriate icon. - Select the Add User button to add a new user.
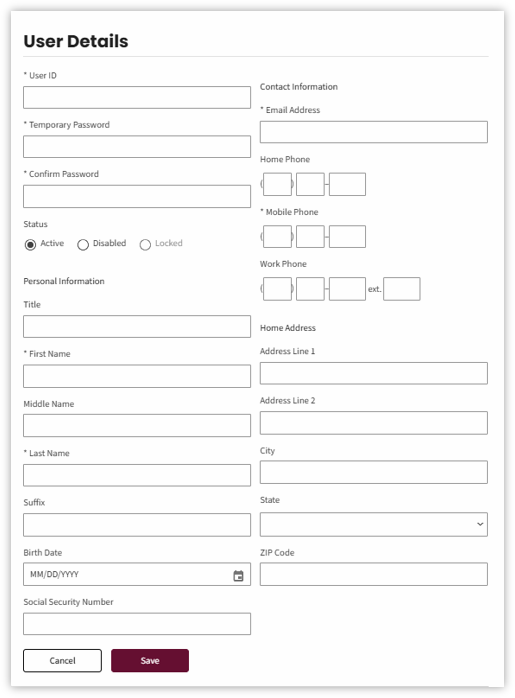
- The User Details view displays. The business administrator enters the data for the new user in this view.
The fields with an asterisk must be completed:- User ID – must be 9-26 characters; combination of letters, numbers, and special characters.
- Temporary Password – must be 12-32 characters; combination of upper and lower-case letters, numbers and special characters.
- Confirm Password – same as the temporary password.
- Select the Active status for new business users.
- Disabled will deactivate a business user until they are put back into an Active status. *Scheduled transfers tied to this user will continue to process.
- Employees no longer employed, should be deleted and not disabled.
- Locked means the user has had too many failed login attempts and the Admin must reset their password.
- First Name
- Last Name
- Email Address
- Mobile Phone – required; used to authenticate the user.
Completing the other fields (i.e., Address, Birth Date, etc.) is recommended, but not required.
Select the Save button.
- A pop-up confirms the user has been added and prompts to set the entitlements for the user.

- Entitlements are permissions that establish what a user is allowed to do for the business based on their role in the business.
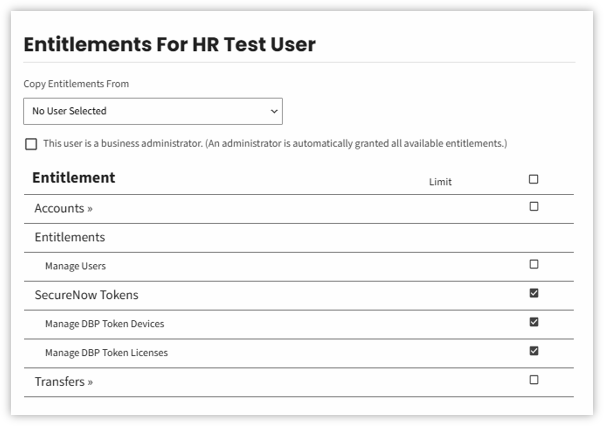
- Select the Copy Entitlements From dropdown to copy entitlements from an existing user if the new user will have similar permissions.
Copying entitlements from an existing user saves time on setting up entitlements. If specific permissions are different for the existing user, they can easily be adjusted.

Users can also be set up as a Business Manager, which allows them to add, edit or delete other users but will not give them other entitlements.
- Entitlements can also be entered manually.
Complete the following sections under Entitlement for manual setup:- Account
- ACH
- Bill Pay
- Cards
- Entitlements
- Transfers
- Wires
- Zelle®
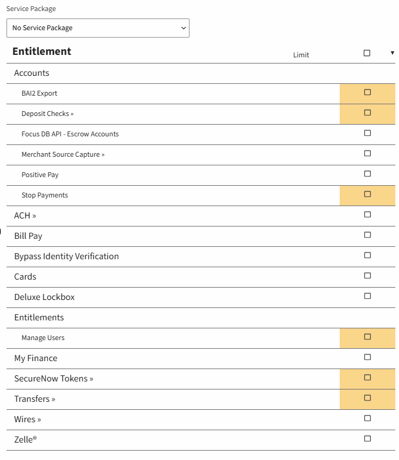
- Entitlements for the business are set up by the bank and limits are assigned in the Limit column. To change these entitlements, new contracts are needed.
Entitlements set for each user cannot exceed the business limits.
Entitlement options are specific to an individual business.
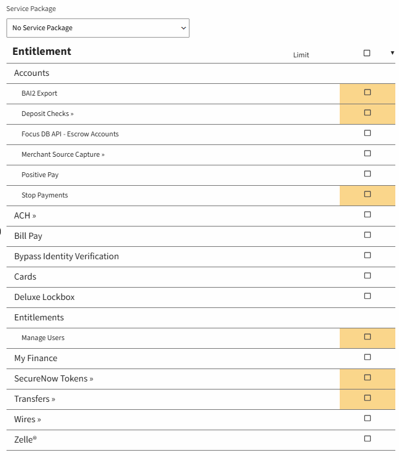
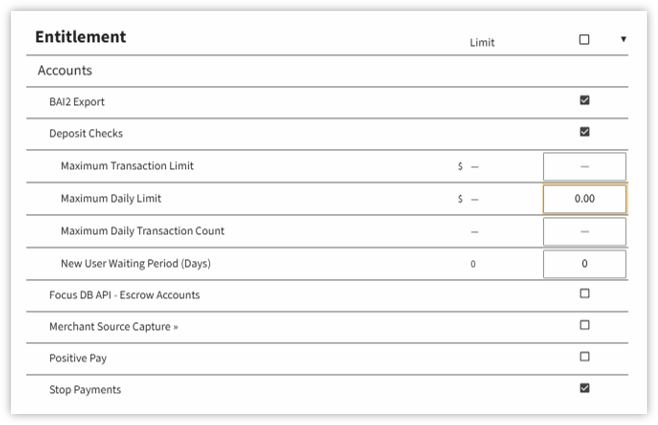
- When the Accounts box is checked, another set of entry fields open: BAI2 export, Deposit Checks, Merchant Source Capture, Positive Pay, Risk Management Services (Positive Pay) and Stop Payments.
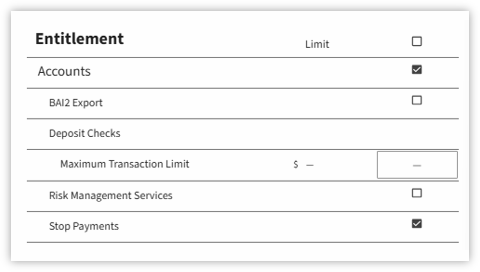
- Complete the following entitlements, as applicable.
- BAI2 Export – allows user to export BAI2 files to load into an accounting system.
- Deposit checks – enter limits user will have for mobile capture.
- The Maximum transaction limit is a dash (-).
- Enter the Maximum Daily Limit for all deposits made by this user in one day. The default limit for businesses is $10,000.
- Merchant Source Capture – allows the user to make an electronic deposit of checks for the business by running them through a tabletop scanner. If the user needs permission to use Merchant Source Capture, then enter the Maximum Transaction Limit and the Maximum Daily Limit.
- Positive Pay – Allows the user access to the positive pay management screens, which interacts with the Transaction Authorization System (TAS).
- Risk Management Services/Positive Pay Centrix SSO – Grants the user access to Positive Pay when the institution uses ACH Alerts as its Positive Pay application.
- Stop Payments – gives the user the ability to stop pay checks for the business.
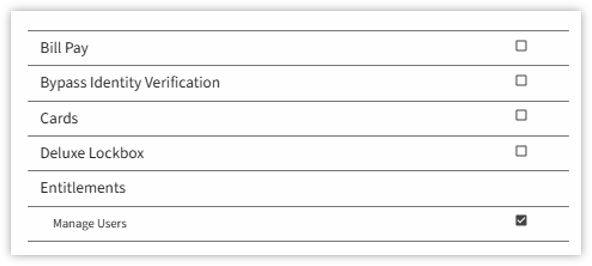
- Select Bill Pay if the user will have permission to manage bill pay transactions.
Check the Manage Business Billing box under Entitlements if the user can manage the billing account from which the business service fees are paid.
Check the Manage Users box if the user will be able to add, edit or delete other users. This changes the user’s type to Business Manager in the user’s section. This allows the business administrator to appoint responsible employees to help manage the process.
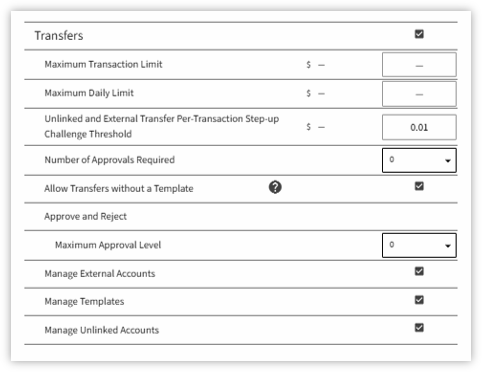
- Select the Transfers checkbox to set the limits for the transfers that are internal between the accounts belonging to the business. What is the maximum transfer amount the user can move between the business’ accounts? What is the daily limit allowance? Enter the values here.
- Select how many approvals are needed for the user to transfer money between the business’ accounts by selecting the Number of Approvals Required drop down field.
- Select the Allow Transfers without a Template box to allow the user to complete a transfer without a template. This allows the user to create an open transfer, where they can pick the FROM and TO account.
- Under the Approve and Reject, select The Approval Level for the user. Maximum Approval Level field. Because template access is not controlled at the template level access to templates gives access to any created. Using the Level of Approver Required allows businesses to control who can initiate a transfer template. Businesses and Business Admins will be set up as a level 2, but lower access can be given to delegates as needed. Select zero, one or two depending on the level of the person you need to approve the template.
- Check the Zelle checkbox to provide person to person real-time transfers between businesses.
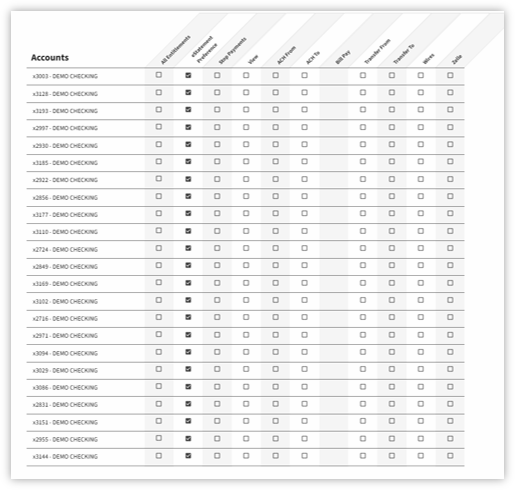
- The Accounts section provides a chart with accounts listed and permissions to select. The accounts listed include the business’s accounts and any linked accounts.
Check the boxes of permissions the user should have for each account listed. Consider the user’s role in the business and what they need to do for their job.
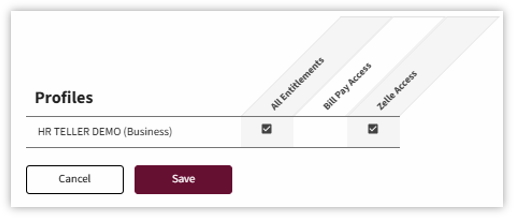
- Check the appropriate boxes in the Profile section for the changes the user should be able to make to the business’ profile.
- Select the Save button once all the entitlements for the user have been selected.
A pop-up confirms the entitlements for the user have been updated.

- Select the Edit(pencil) icon on the Users view to make changes to a user’s profile information or to reset their password.
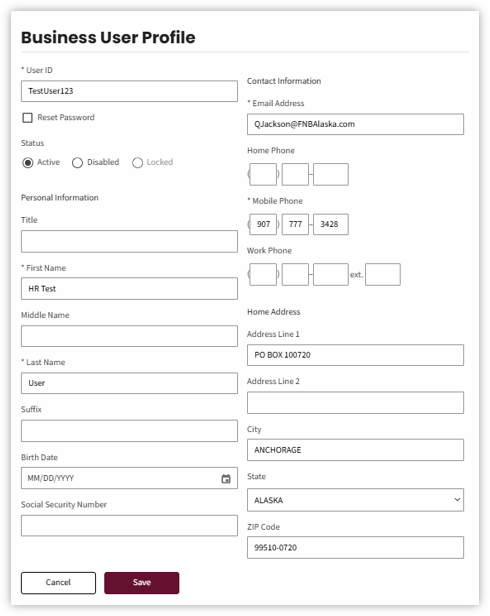
- Make the necessary changes to the UserDetailsview (i.e., status, address, phone numbers and email address, etc).
Select the Save button - If a password change is needed, click the Reset password box to generate a new password and click Save. The password must be verbally provided to the user.
A pop-up confirms the user profile has been updated.

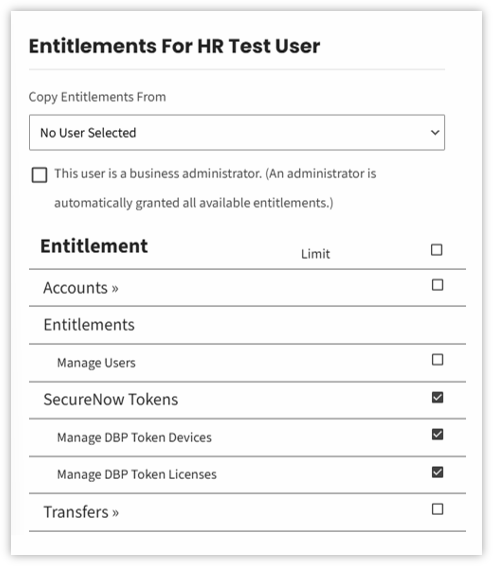
- Select the Key icon to edit the entitlements for an existing business user.
- Select the boxes for the entitlements to assign to the user and uncheck the boxes of the entitlements to remove from the user.
Scroll to the bottom to select the Save button.
The pop-up confirms the user’s entitlements have been changed.

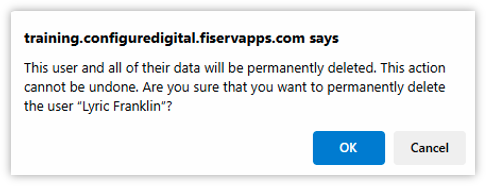
- Select the Delete (trash can) icon to delete a business user.

- Select OK on the confirmation pop-up to delete the user.
Viewing Activity for User
- Select the profile name on the top right side.
- Select Settings from the dropdown menu, then select User Activity.
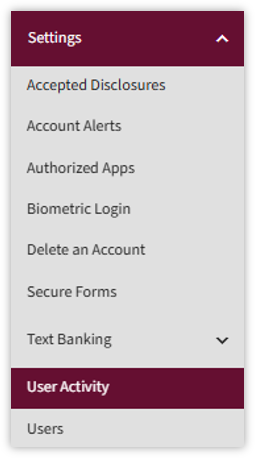
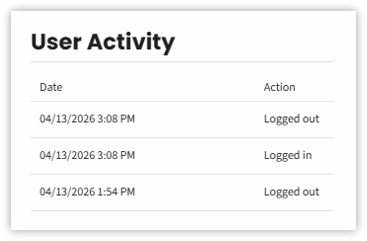
- The list of all user activity displays the activity to include date/time, logins, logouts, password changes, transfers, etc.