What is Bill Pay for Business?
Business Bill Pay lets customers set up and pay bills quickly and securely through First National Bank Alaska. With Bill Pay you can pay anyone in the United States you would normally pay electronically or by check.
With Bill Pay:
- Pay several bills at once.
- View pending and recent payments.
- Schedule automatic payments to pay routine bills on schedule.
- Download bill payment information for tracking in another financial software.
How to sign up for Business Bill Pay
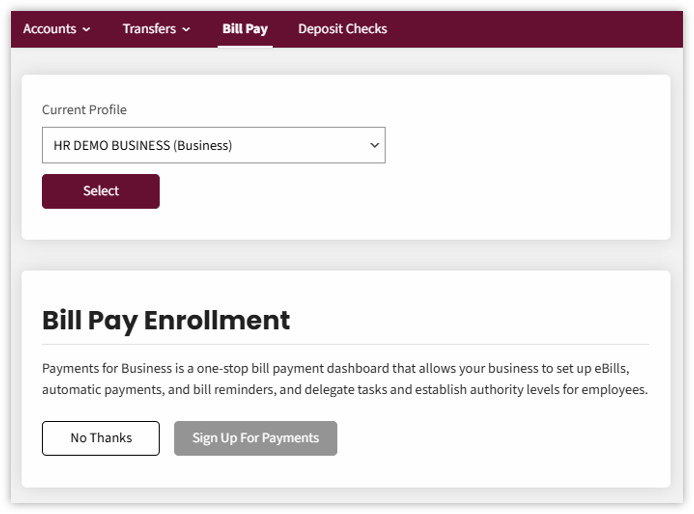
You will have access to enroll in Bill Pay once you are enrolled in online banking. Businesses with more than one entity in their online banking profile will use the dropdown to select which entity they are wanting to enroll.
Online Bill Pay
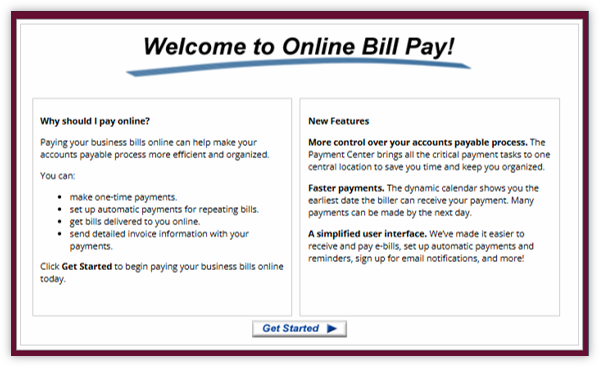
A welcome screen discusses what you can do with bill pay. Click Get Started to proceed with the next step.
Payment Center
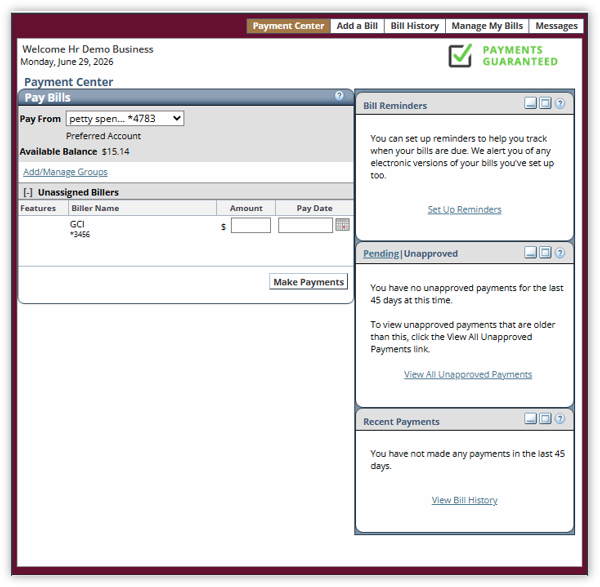
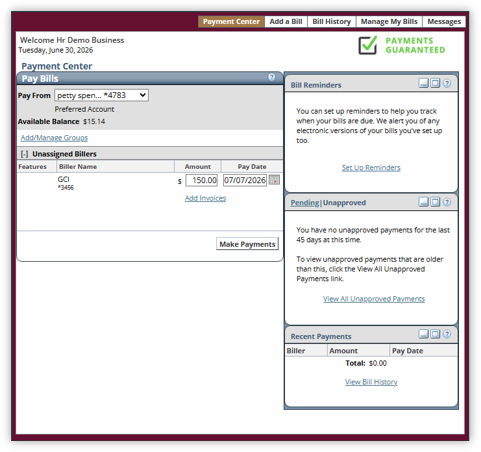
You can view billers, reminders, pending bills and recent payments in the Payment Center. You also have the ability to change which account the bill will be paid from.
Add a Bill
To add a Company or a Person:
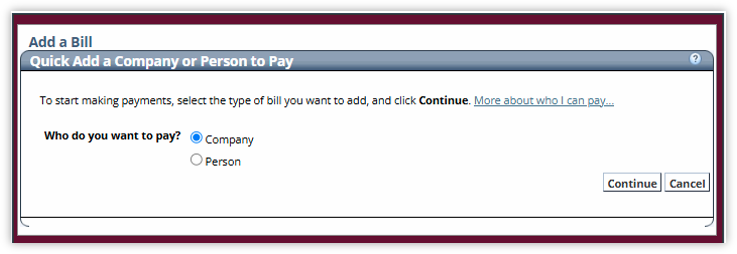
- Select the type of bill to add, and then click Continue.
- Search the biller’s name as it appears on the bill.
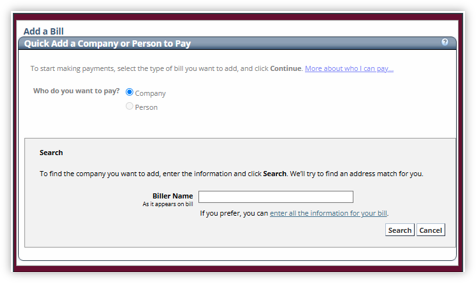
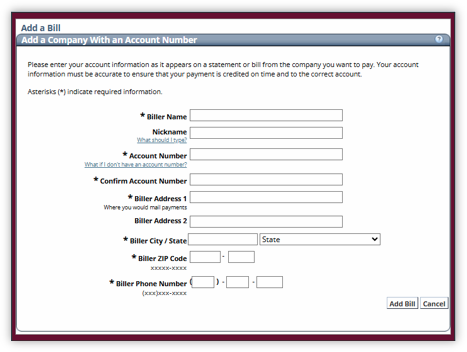
- An option to enter all the bill information by clicking the enter all the information for your bill link is also available.
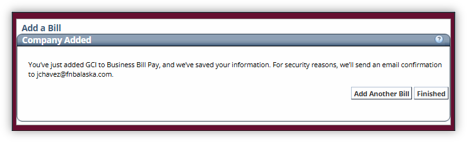
- Click Finish or Add Another Bill.
Make a Payment
Once bill has been added, customers can make payments directly on the Payment Center homepage.
- Under the Pay Bills tab, you can select which account the payment will be debiting from by clicking the Pay From dropdown.
- On the Unassigned Billers, enter the Amount and the Pay Date of the bill you wish to pay.
- Then click Make Payments.
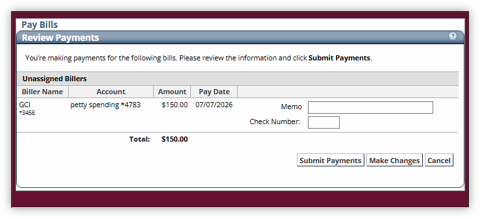
- You have the option to add a memo in the Memo field.
- You can also include a check number
- The Review Payments screen appears, prompting you to review the payment.
- If the payment is correct, click Submit Payment.
- To update the payment, click Make Changes.
- Click Cancel to cancel the session.
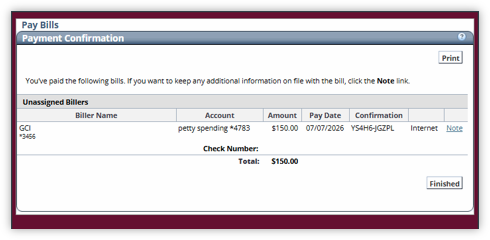
- Once submitted, you can print the confirmation by clicking the Print button.
- Click Finish to complete.
Bill History
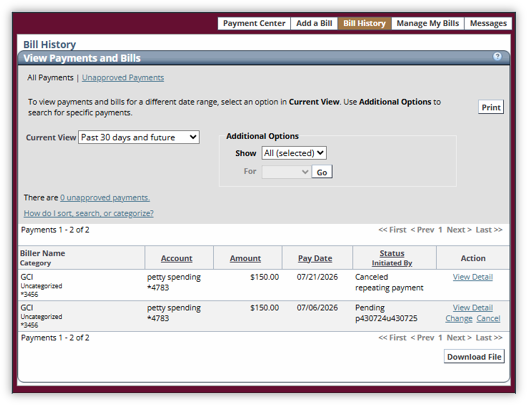
On the Bill History tab, customers can view the payment history.
The Current View dropdown allows you to filter the date range you would like to view. The options are:
- Past 30 days and future
- Past 60 days and future
- Past 180 days and future
- Past 12 months and future
- Past 18 months and future
- Specific date range
The Additional Options section allows you to filter bills by:
- All
- Biller Name
- Category
- Account
- Initiated By
- Status
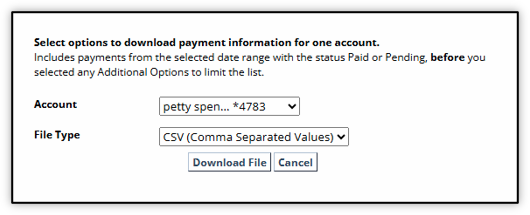
You can download a file by clicking Download File button. Options for download are:
- CSV (Comma Separated Values)
- IIF (QuickBooks File Format)
Manage my bills
Managing bills allow customers to set up automatic payments, reminders, update biller information and delete biller.
Set Up Automatic Payment
- On Manage My Bills, select the biller on the Biller Name dropdown.
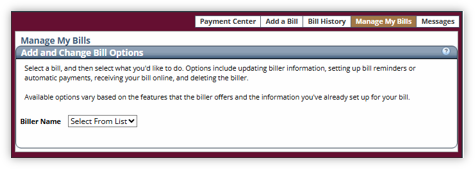
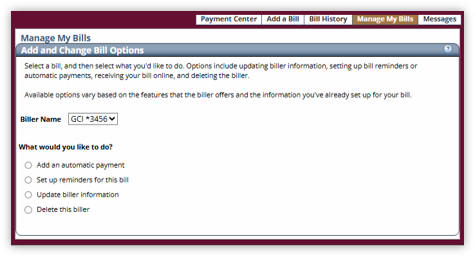
- Below What would you like to do? select the Add an automatic payment option.
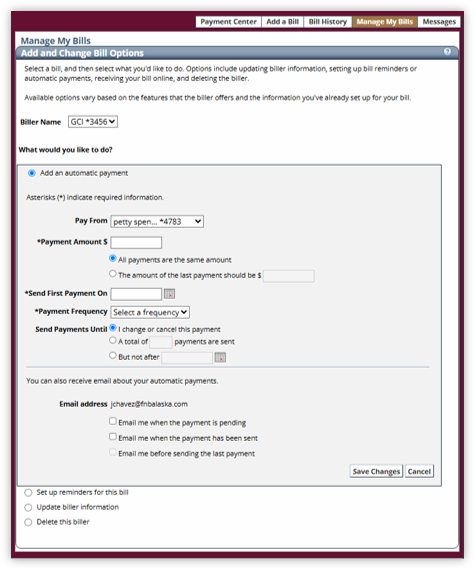
- Fill out the required information.
- Payment Amount
- Sent first Payment On
- Payment Frequency
Optional Information: - Send Payments Until
- You can also receive emails about your automatic payments.
- Click Save Changes.
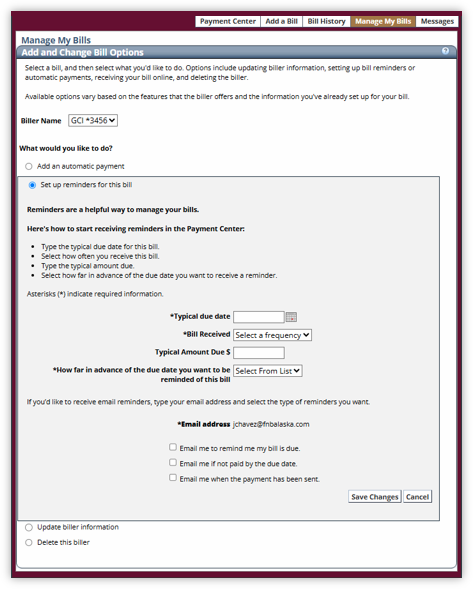
Set Up Reminder
- Select Set up reminders for this bill on Manage My Bills.
- Fill out the required information:
- Typical due date
- Bill received
- How far in advance of the due date you want to be reminded of the bill
- Email Address
Optional information: - Typical Amount Due
- If you would like to receive email reminders; type your email address and select the type or reminders you want
- Click Save Changes.
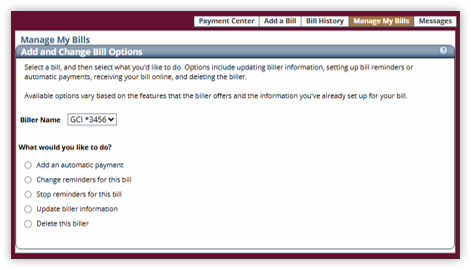
Delete a Reminder
- Select Stop reminders for this bill on Manage My Bills.
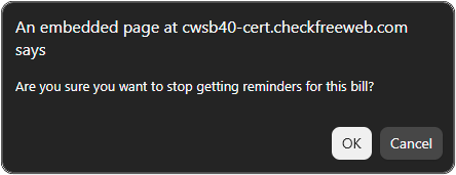
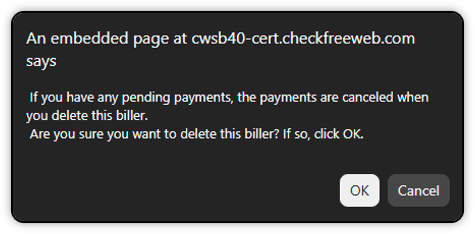
- A pop-up message displays prompting you to confirm to stop all reminders for the bill selected.
Click OK.
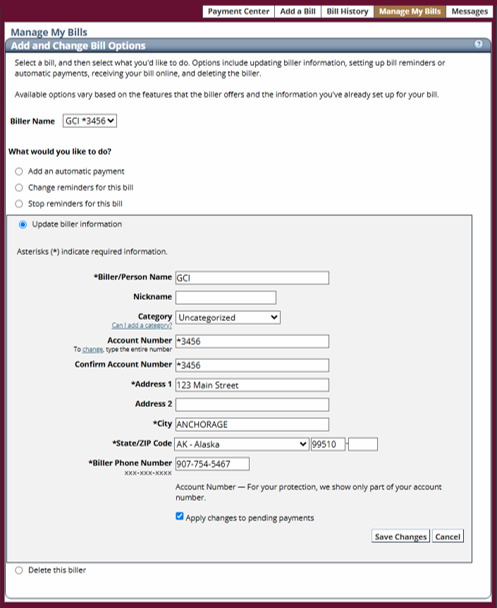
Update Biller Information
- To update a biller, select Update biller information on Manage My Bills.
- Fill out the required information:
- Biller/Person Name
- Address 1
- City
- State/ZIP Code
- Biller Phone Number
Optional Information - Nickname
- Category
- Account Number
- Confirm Account Number
- Address 2
- Click Save Changes
Delete this Biller
- Select Delete this biller on Manage My Bills.
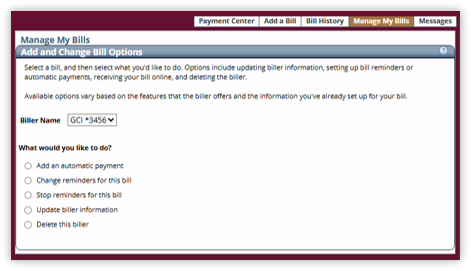
- A pop-up message displays prompting you to confirm to delete the biller.
Click OK.
Messages
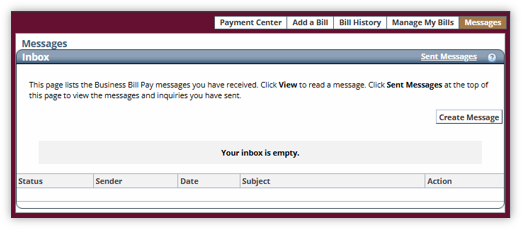
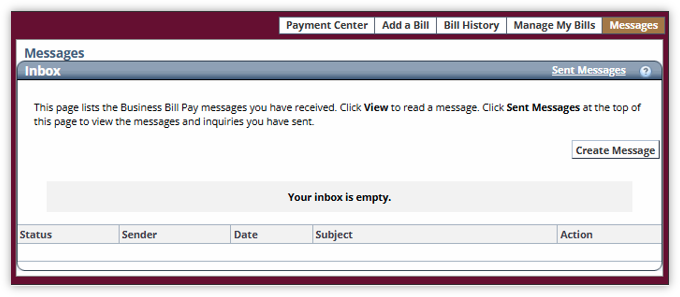
Messages allow customers to view and create new messages.
- Inbox
The inbox shows Business Bill Pay messages you received. Click View to read any message.
- Create Message
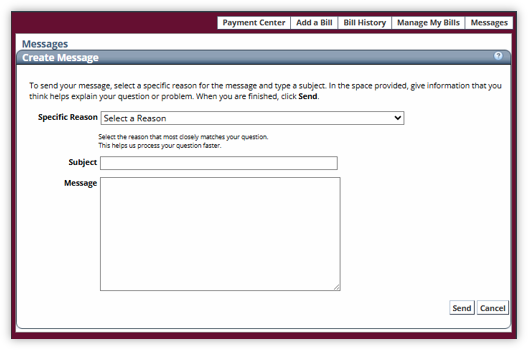
Click the Create Message button to start a message.- Select a reason in the Specific Reason dropdown. Selections are listed below:
- Service Fee – Questions about service fee
- Electronic bills – General electronic bill question, comment or suggestion
- Electronic bills – Inquiry about status of electronic bill service
- Electronic bills – Electronic bill late or not received
- Messages – Response to message from customer service
- Export – Question about PFM Export
- Product – Unexpected behavior in the product
- Other – Other question, comment or suggestion
- Enter the message Subject.
- Enter the message in the Message field.
- Then click Send.
- Select a reason in the Specific Reason dropdown. Selections are listed below:
- Sent Message
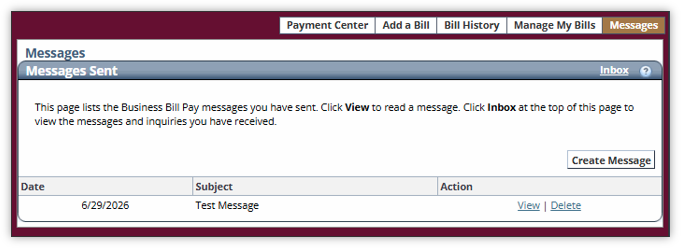
The Sent Messages view allows customers to view all messages sent to bill pay customer service. To view the Sent Messages, follow the steps below:
- On the Messages landing page, click on Sent Messages on the right of the Inbox tab.
- All messages sent will be displayed under the Message Sent tab.