Enroll in Bill Pay
Bill Pay allows you to set up and pay bills quickly and securely. It allows you to pay anyone you would normally pay in the United States electronically or by check. With Bill Pay you can:
- Pay multiple bills at once.
- View pending and recent payments.
- Schedule automatic payments to pay routine bills.
- Download bill payment information for tracking in other financial software
To enroll in Bill Pay:
- Log in to online banking. Enter User ID and Password, then select Log In button.
- Click Bill Pay in the top menu.
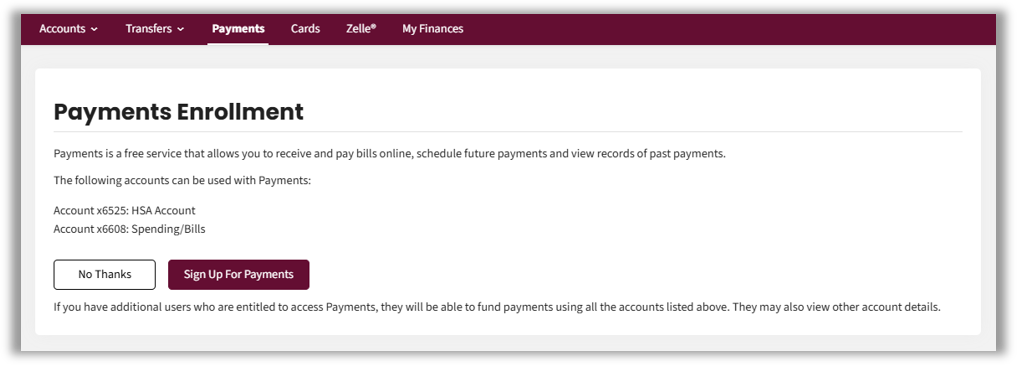
- If you are not already enrolled, a Payments Enrollment screen will display with the list of eligible accounts for bill payment. Click Sign Up For Payments
- Read the Terms of Service; acknowledge by clicking Accept.
- Read the Privacy Policy; acknowledge by clicking Accept.
- The welcome screen will display, click Get started.
Registration for bill pay is now complete!
Add a Biller
- From the main navigation menu, select Payments, then select Bill Pay to open the Payment Center.
Click Add biller
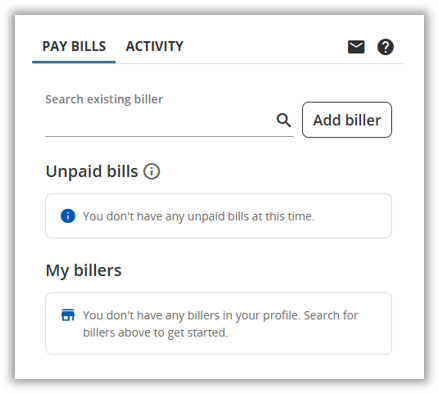
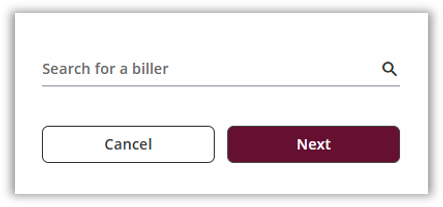
- Search for a biller in the search bar.
If the biller is listed in the network, you can select it from the list. Then click Next.
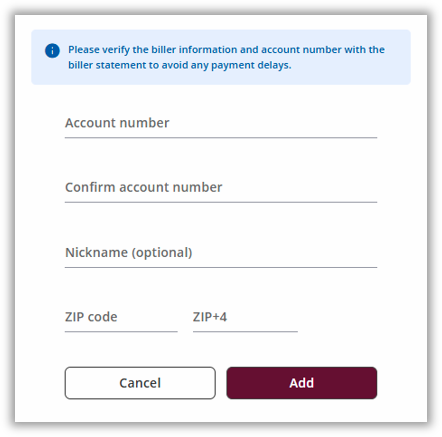
- Enter the biller information, account number and zip code. You can also add a nickname, if desired.
Click Add.
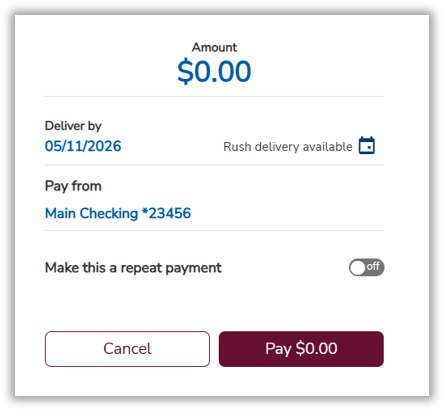
- The payment screen will display. You can change the following information:
- Amount – Payment due amount
- Deliver by (date) – Date the payment is set to be taken out of the account.
- Pay from – Account from which the payment will be debited.
- Make this a repeat payment – You can turn on the autopay option
View Biller Information
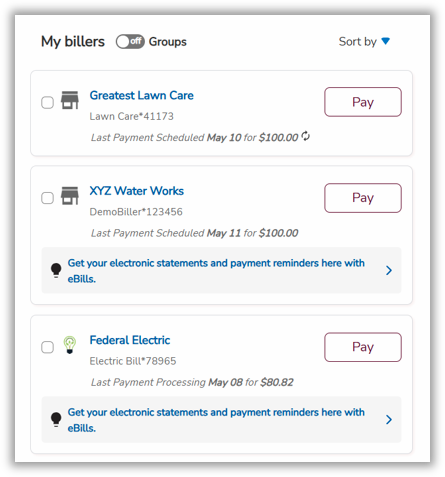
- From the Bill Pay landing page, scroll down to My billers.
- Click on the biller’s name.
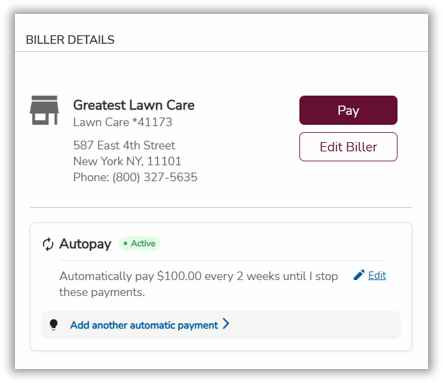
- From the Biller Details view, you can:
- Make a payment.
- Edit the biller’s information.
- Enroll in eBills, if available from the biller.
- Set up autopay.
- Add reminders.
Create a Group
From the Bill Pay landing page, toggle the My billers switch to ON.
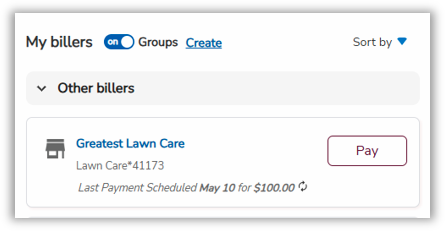
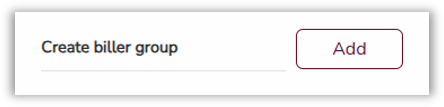
Biller Groups view will display. Click Add to create a group.
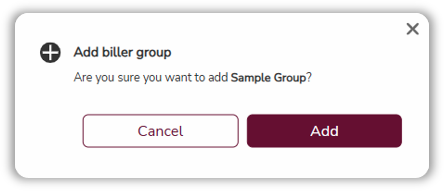
A pop-up will display confirming to add a group. Click Add.
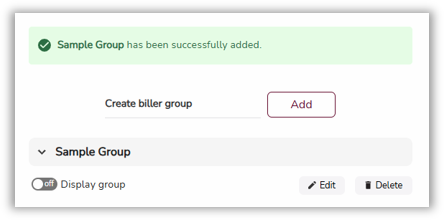
Click the Edit icon to change the Group Name.
Enter the desired group name. Then, click Confirm.
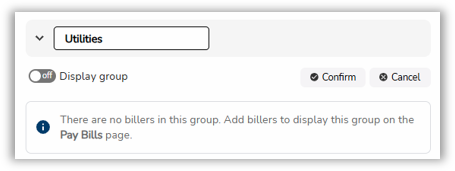
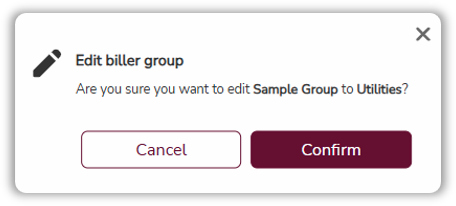
A pop-up will display prompting you to confirm the changes. Click Confirm.
Add Billers to Group
To assist in managing bills, you can organize billers into groups if you have at least five billers added to Bill Pay.
- On the Bill Pay landing page, click Manage next to My billers.
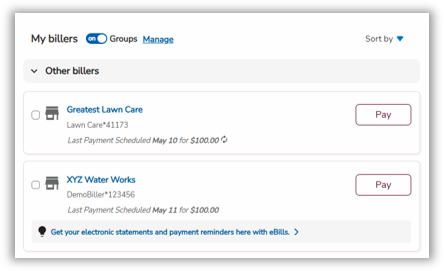
- Click the Move down arrow, then select the group (For example, Utilites).
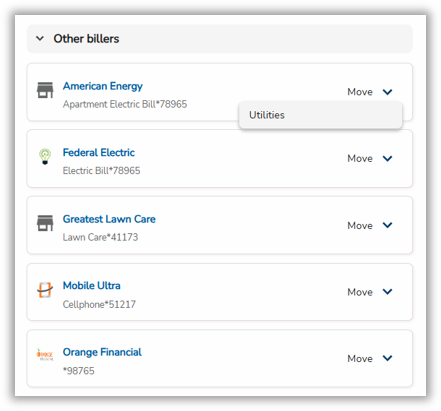
- A pop-up will prompt to confirm the change. Click Move.
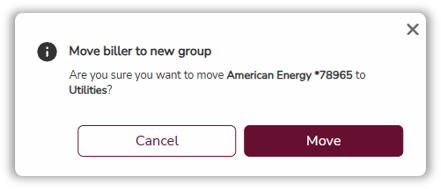
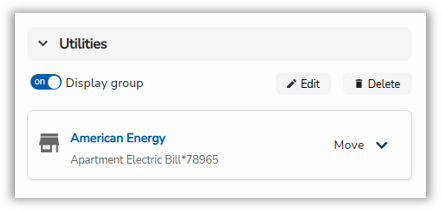
- The biller has now been added to the group.
Activity
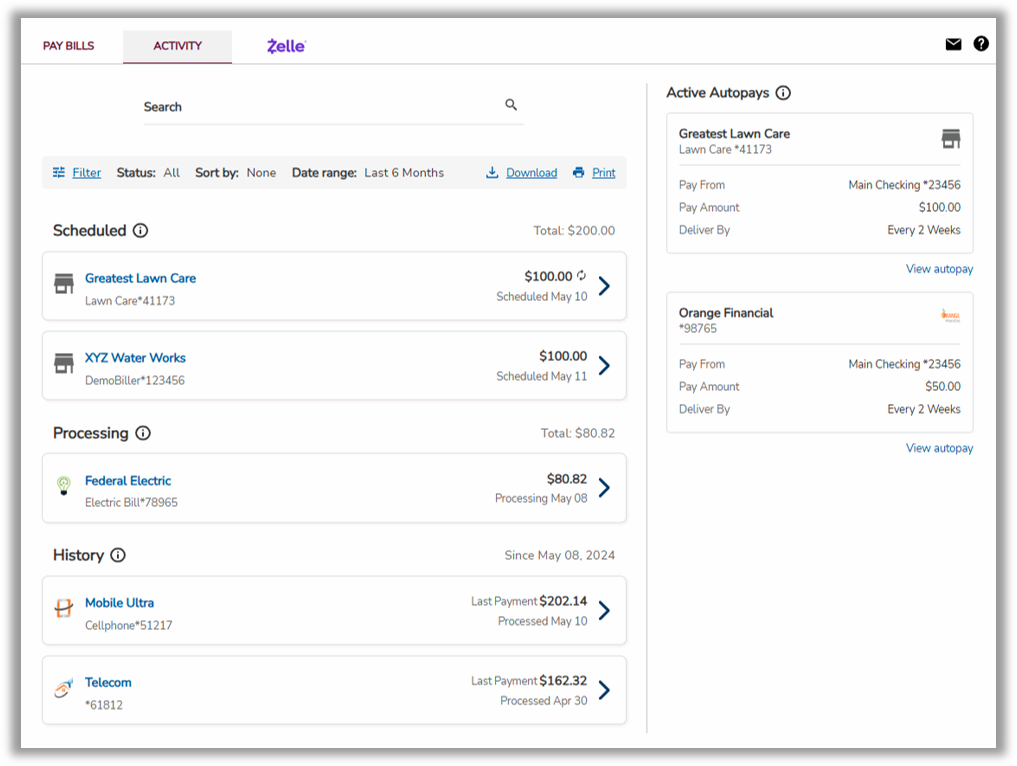
You can see an overview of your payment history, including scheduled, processing and completed. It also provides information on each bill.
The top right corner displays an envelope. This is the Message Center which contains secure messages and notifications related to Bill Pay, such as payment updates or messages requiring your attention.
Next to the envelope, a question box allows users to get help.
You also have the ability to download and print your history records.
Billers that are setup in autopay will be listed on the right side, below the envelope and help icons.