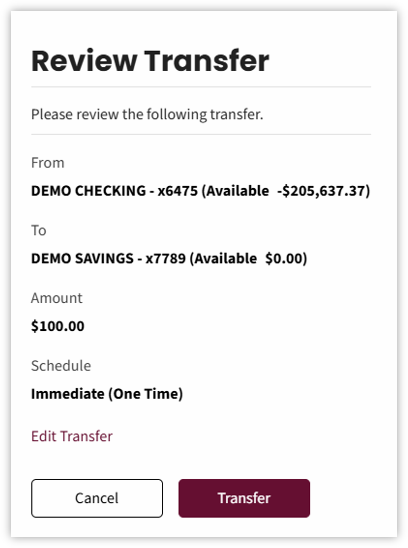
Business accounts can be linked together so they can be managed in one place. Personal accounts can be linked to business accounts to be visible in one location.

Example: A business owner has more than one business at a financial institution. The businesses can be linked together so the owner can see information about multiple accounts in one location. Additionally, the business owner’s personal accounts can be linked with their business accounts so they can be managed in one location.
Multi-Profile Accounts – Linking Business Accounts
- Log in to the Admin portal: Enter User ID and Password, then select the Log In button.
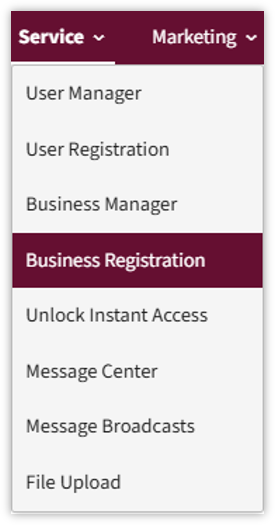
- Select the Service tab, then select Business Manager from the menu.
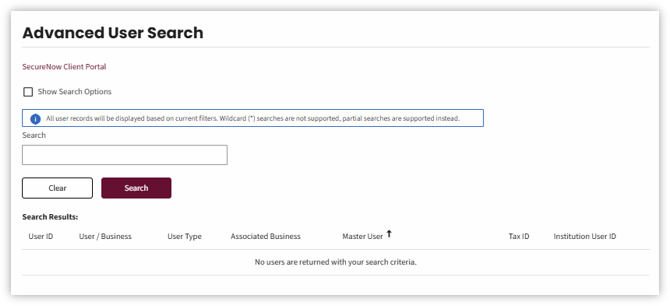
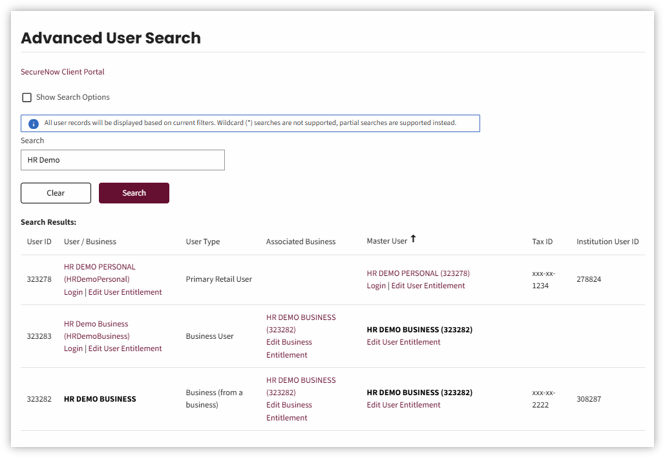
- The Advanced User Search homepage displays.
- Enter the business name, then select the Search button.
- The Search Results display.
- Select the correct business from the results by clicking the Business name link.
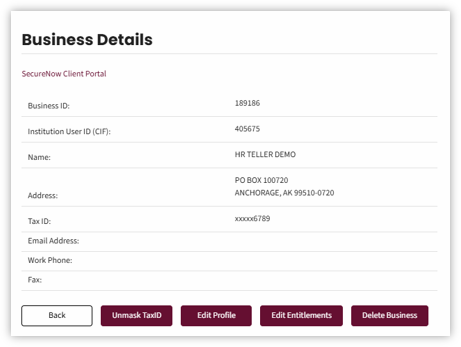
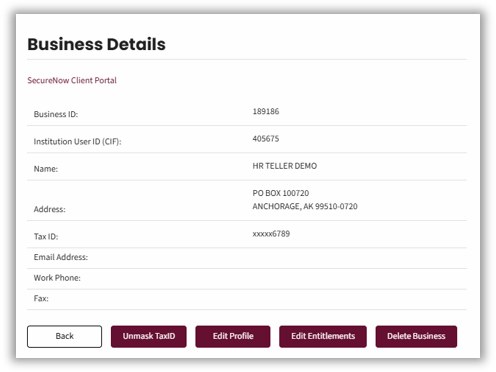
- The Business Details screen displays business information, such as name, address and identification numbers.
Confirm the identification numbers to be sure this is the correct business.
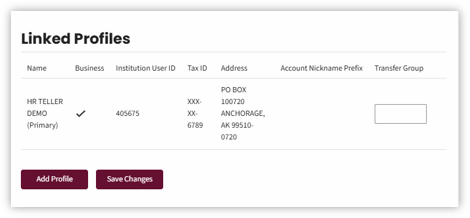
- Scroll down to the Linked Profiles section. The primary account is already listed.
Select the Add Profile button.
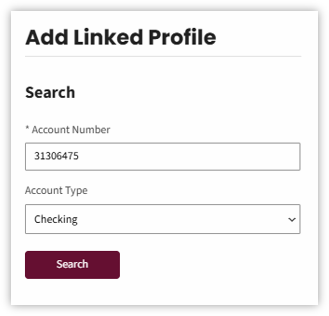
- The Add Linked Profile view displays.
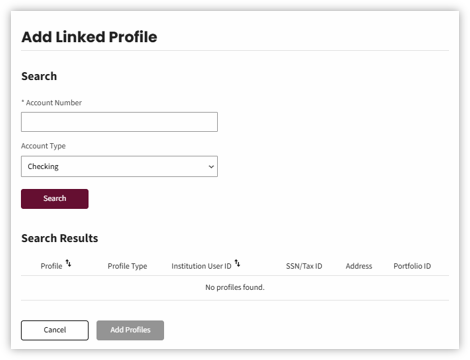
- Enter the Account Number and Account Type for the business you want to link.
Select the Search button.
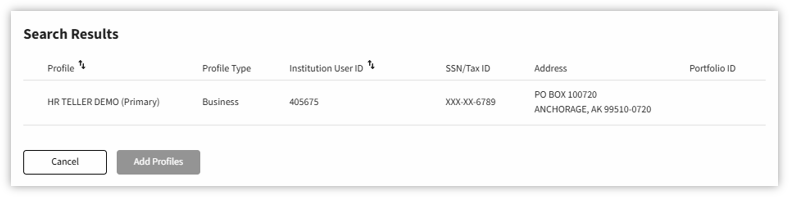
- The business that matches the search criteria displays.
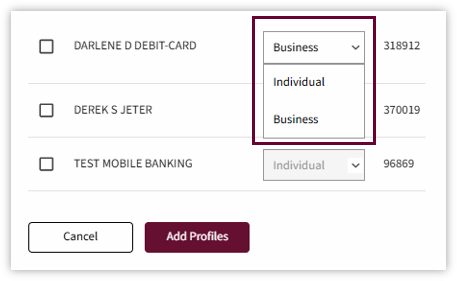
- Select Business from the Profile Type dropdown menu.
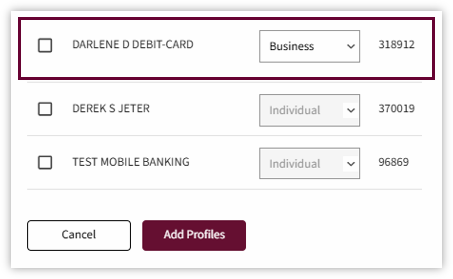
Check the box if this is the correct business.
- Select Add Profiles.
- The pop-up confirms that the profile was added successfully.
- The Linked Profiles section shows the two businesses are linked.
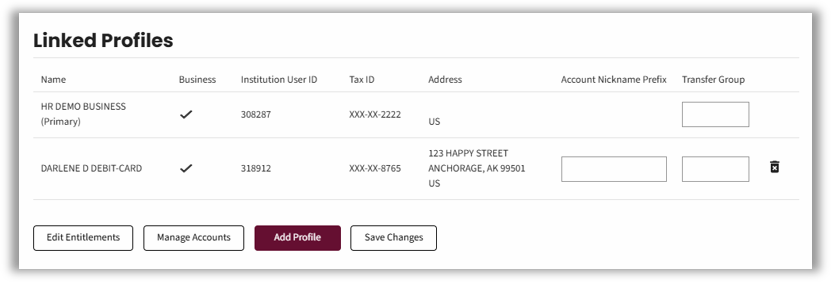
- Add a nickname in the Account Nickname Prefix field for the newly linked business.
Select Save Changes to save.
Giving a linked business a short prefix nickname is helpful to differentiate which accounts belong to which business.
Business Details: Viewing Linked Accounts
To view linked accounts:
- Navigate to the Business Details section for the Business and select the Edit Entitlements button.
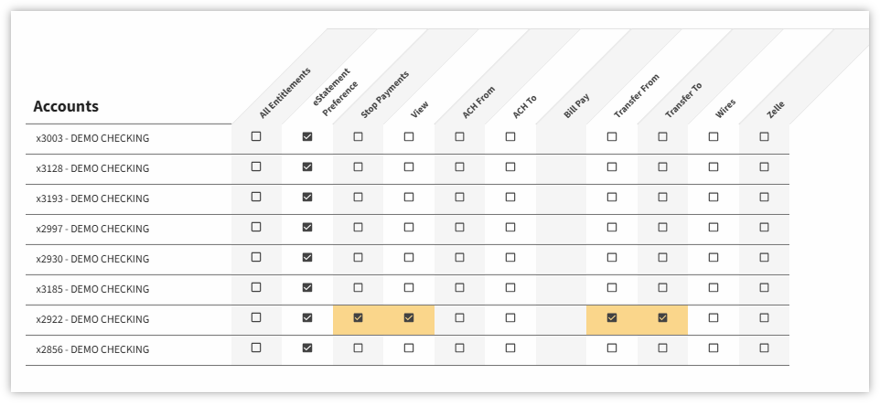
- Scroll down to the Accounts section and select the appropriate accounts to link based on contract.
Select all applicable business accounts associated with the customer, including any additional linked accounts.
Scroll down to select Save.
Multi-Profile Accounts: Linking Personal Accounts
- Navigate to the Linked Profiles section, then select Add Profile.
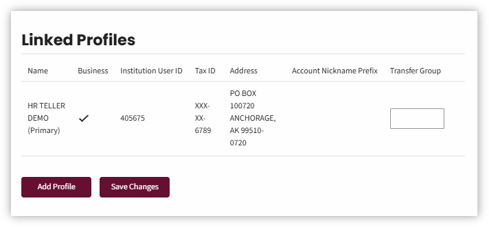
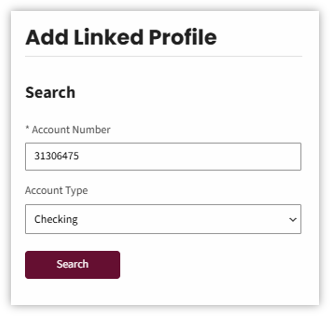
- Enter the account information in the fields provided:
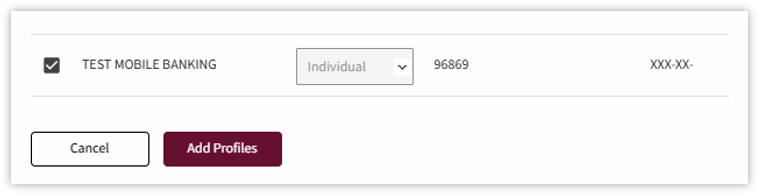
Select Search. - The owner’s name and information displays. This account is set up for an individual; therefore, the only profile type available is individual.
- Check the box and select Add Profiles.
- The pop-up confirms the profile was added successfully.

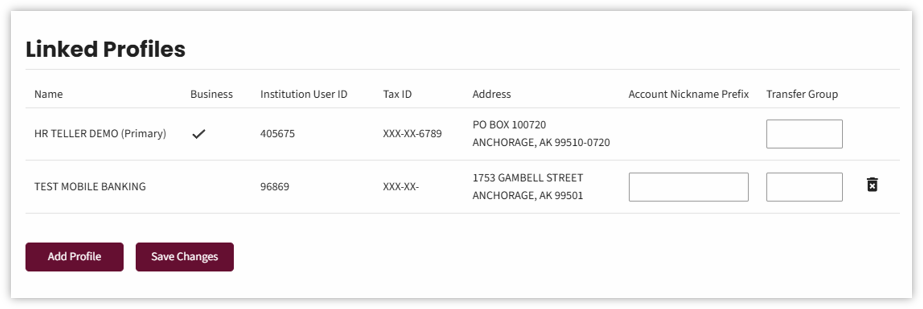
- The owner’s profile is visible in the Linked Profiles list.
The business column is not checked for this profile, which indicates this is an individual profile.
- Enter desired nickname for personal account in the Account Nickname Prefix field to help the owner differentiate the accounts.
Select Save Changes.
- The pop-up confirms the profile was added successfully.
- Navigate to Business Details section and select Edit Entitlements.
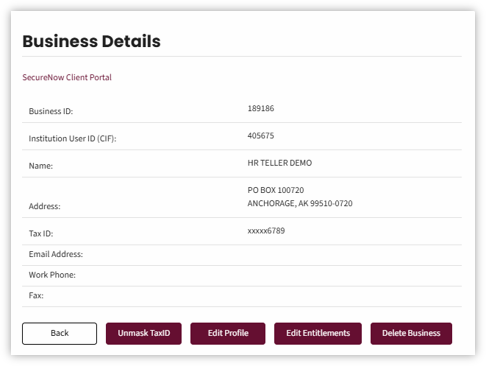
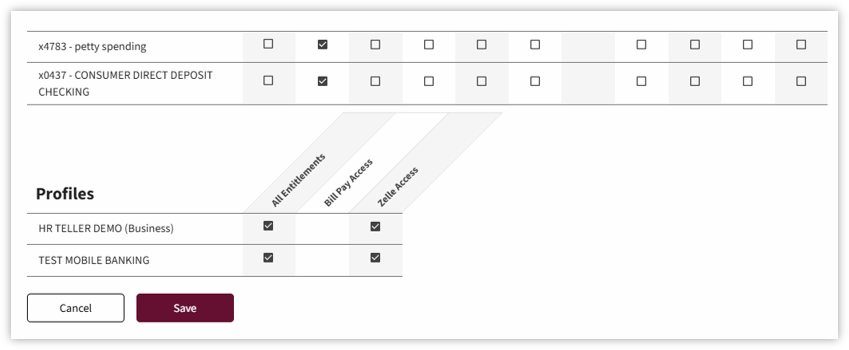
- Scroll down to the Accounts section to view the owner’s personal accounts designated with the CONSUMER prefix and select which accounts should be visible based on contract.
Account Entitlements
Follow the steps below to set Account Entitlements:
- Business Administrators can set the account entitlements for employees at the business user level.
Navigate to the Business Users section.
Select the Key icon besides the business user’s name to be edited.
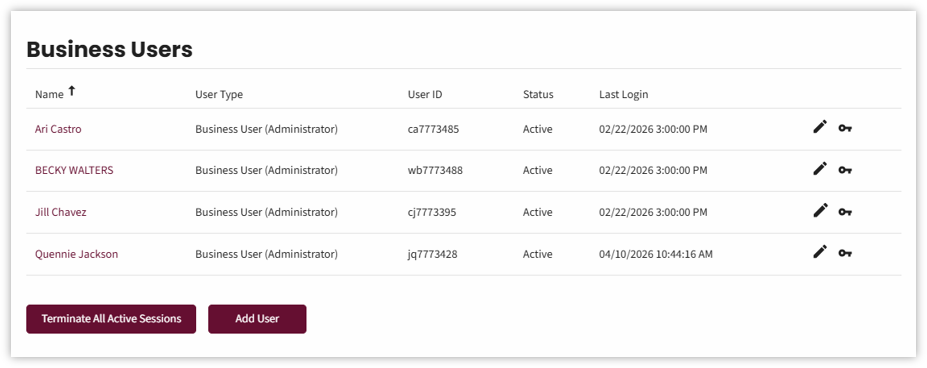
- The business user’s entitlements display.
- Check the boxes of the permissions that this business user should have, and then check the boxes next to the accounts the user should have permission to access. Scroll down to select Save.
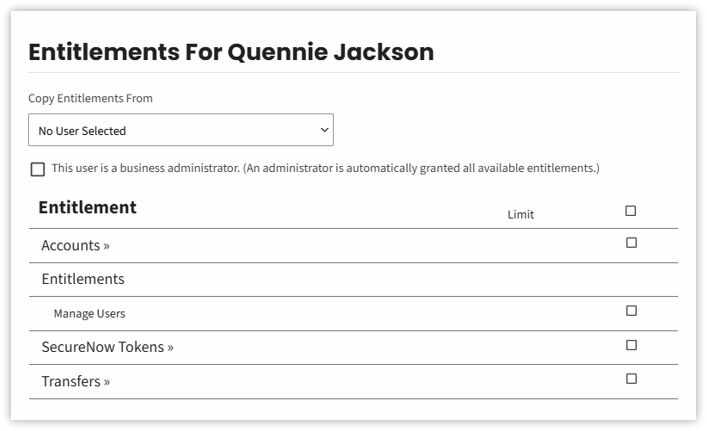
Consider the employee’s role and the accounts they need access to in order to do their job.
Multi-Profile: User Experience
To see how multi-profiles work from the end user’s perspective
- In the business portal, the business’ linked accounts are listed on the Account Summary homepage.
Both business and consumer accounts are visible. - Select the Zelle®tab to see a multi-profile account example.
- The Current Profile drop-down menu displays and allows the user to choose Zelle for their business or personal account.
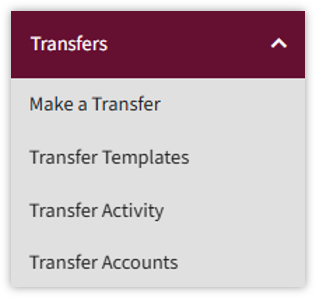
- Select the Transfers tab to make a transfer.
- Select First National Transfer.
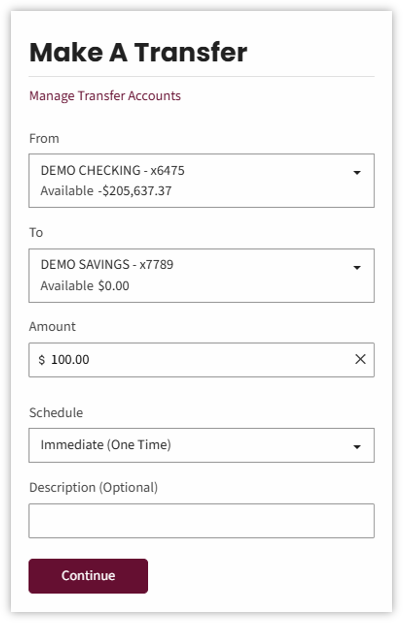
- Select Make a Transfer from the drop-down menu.
- Select the appropriate account from the list of available accounts in the From field.
Select the account to transfer money to from the To field list of available accounts.
Enter the transfer amount in the Amount Field.
Select the appropriate transfer schedule from the Schedule field.
Options are:- Immediate (one time) – transfer needs to happen right away.
- Future (One time) – transfer should be on a date in the future. Enter the date that the transfer will happen.
- Recurring – transfer will happen on a recurring basis. Complete the required information.
Enter a description of the transfer in the Description field. (Optional)
Select the Continue button.
- Confirm the information is correct.
Select the Transfer button.
Consider the employee’s role and the accounts they need access to in order to do their job.